Chapter V. Blocks Applied to Networked Double Weave
Four shafts are needed for each block of traditional double weave. Therefore an 8-shaft loom provides for two double weave design blocks, a 12-shaft loom three blocks and a 16-shaft loom ups the ante to four blocks. The more blocks available to a weaver, the easier it is to soften the rectangular lines of the block. Even better when the principles of network drafting are added to a block design, curved forms are easy to obtain. In this chapter I want to outline how one can start with block designs for 16 shafts and modify them easily using networking as the guide.
I. Some Four block Designs in Double Weave
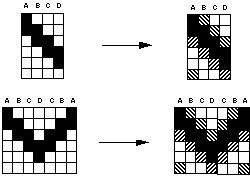
Figure 1 shows two 4-block double weave designs, the left diagram for each in the form of traditional double weave with well defined rectangular forms. Then on the right is a schematic diagram with transitional peg plans above and below the blocks of the preceding diagram.
Figure 1. Four Block Double Weave Designs with and without Transition Peg Plans
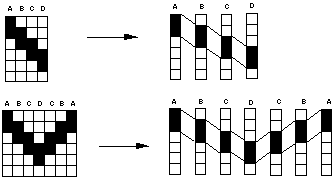
A transition in the threading can be introduced as well. It is somewhat more difficult to present this type of transition than it is for the peg plan transitions of figure 1. Figure 2 attempts to do that in a schematic way with diagonal boxes connecting blocks with one another. Then both transitions are put together in figure 3. In the next section complete threading and peg plans will serve to illustrate what is presented in these figures.
Figure 2. Four Block Double Weave Designs with and without Threading Transitions
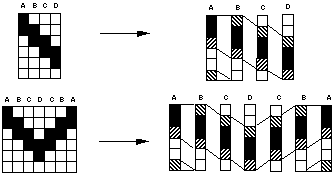
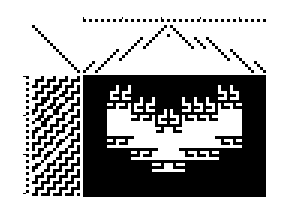
Putting the two types of transitions together produces the diagrams in figure 4.
Figure 3. Four Block Double Weave Designs with Transitions in Threading
and Peg Plan
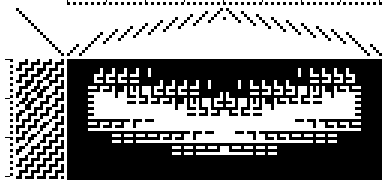
B. From a 4 Block Design to Networked Designs in Double Weave
Figure 4. A Four Block Double Weave Window Design

The next two diagrams show how a transition in the peg plan can be introduced either on the bottom of the three blocks labeled B, C, and D as in the diagram on the left or on the top of the blocks as in the diagram on the right. The peg plan is 2-20 from appendix A-1.
Figure 5. Peg Plan Transitions Introduced for Blocks B, C, and D
A. Motif 2-20 on the Bottom of the Blocks B. Motif 2-20 on the Top of the Blocks
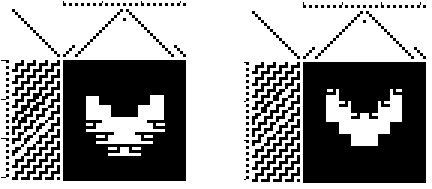
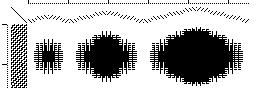
Figure 6. Some Further Variations in the 4 Block Design
A. Motif 2-20 on Top and Bottom of Blocks B. Same Design, Blocks Doubled in Size
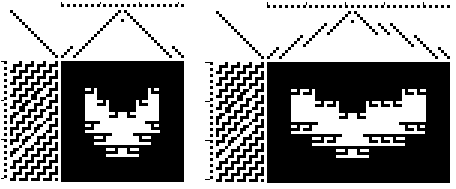
Figure 7. Additional Motif on Top of Blocks
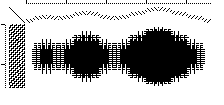
The only transitions introduced to this point are in the peg plans. In network drafting a transition in the threading is a possibility so let’s develop that aspect next.
Figure 8. Transition in the Threading Added to Figure 7
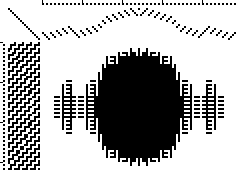
C. Fooling Around With Alice Schlein’s "Circles 2" Design
A schematic peg plan and threading are shown in figure 9, with squares in diagonal form representing transition regions either in the peg plan or in the threading diagram.
Figure 9. A Schematic Analysis of "Circles 2"
Peg Plan Threading

Original Circles Design Design made Symmetrical

Halo Increased by Changing the Peg Plan

The design can be altered by changing the threading.
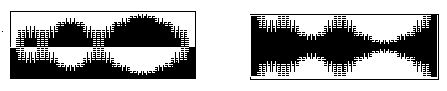
I decided to play around even more with this design, first extending the threading and then creating positive-negative images and combining them in various ways.
Figure 10. Additional Changes in the Circles Design

I hope that the material in this book will provide some new ideas and approaches for network drafting, not only for double weave but also for single weave designs. It is meant to complement the approach to network drafting that Alice Schlein has presented in her book and articles