
Here’s the rig that that Marcie uses to take pictures of things at microscope scale. We took a long journey through a lot of attempts that were unsatisfactory — perhaps this post will save you some steps.
Here’s a picture of the whole setup (click on the photos to embiggen).

Here’s the recipe:
- The core — an LMScope Macroscope (specifically, this one )
- A Nikon Z7 camera (big sensor, lots of pixels – set on no-mirror, silent mode to reduce vibration — the decision was greatly aided by LMScope’s camera review page and camera ranking page)
- Nikon Camera Control Pro 2 software (to capture photos and put the live image on the screen)
- Nikon MC-DC2 shutter release (to reduce vibrations and make it easier to take lots of shots for focus stacking)
- A gaggle of cheap, really-bright Gearlight flashlights mounted on a couple of goose neck stands (using these adapters to fit the second gooseneck to the second mic-holder)
- Helicon Focus focus-stacking software (much easier/faster than Adobe Photoshop’s focus-stacking and integrates well with the Stackshot focus-stacking rail if we decide to go there)
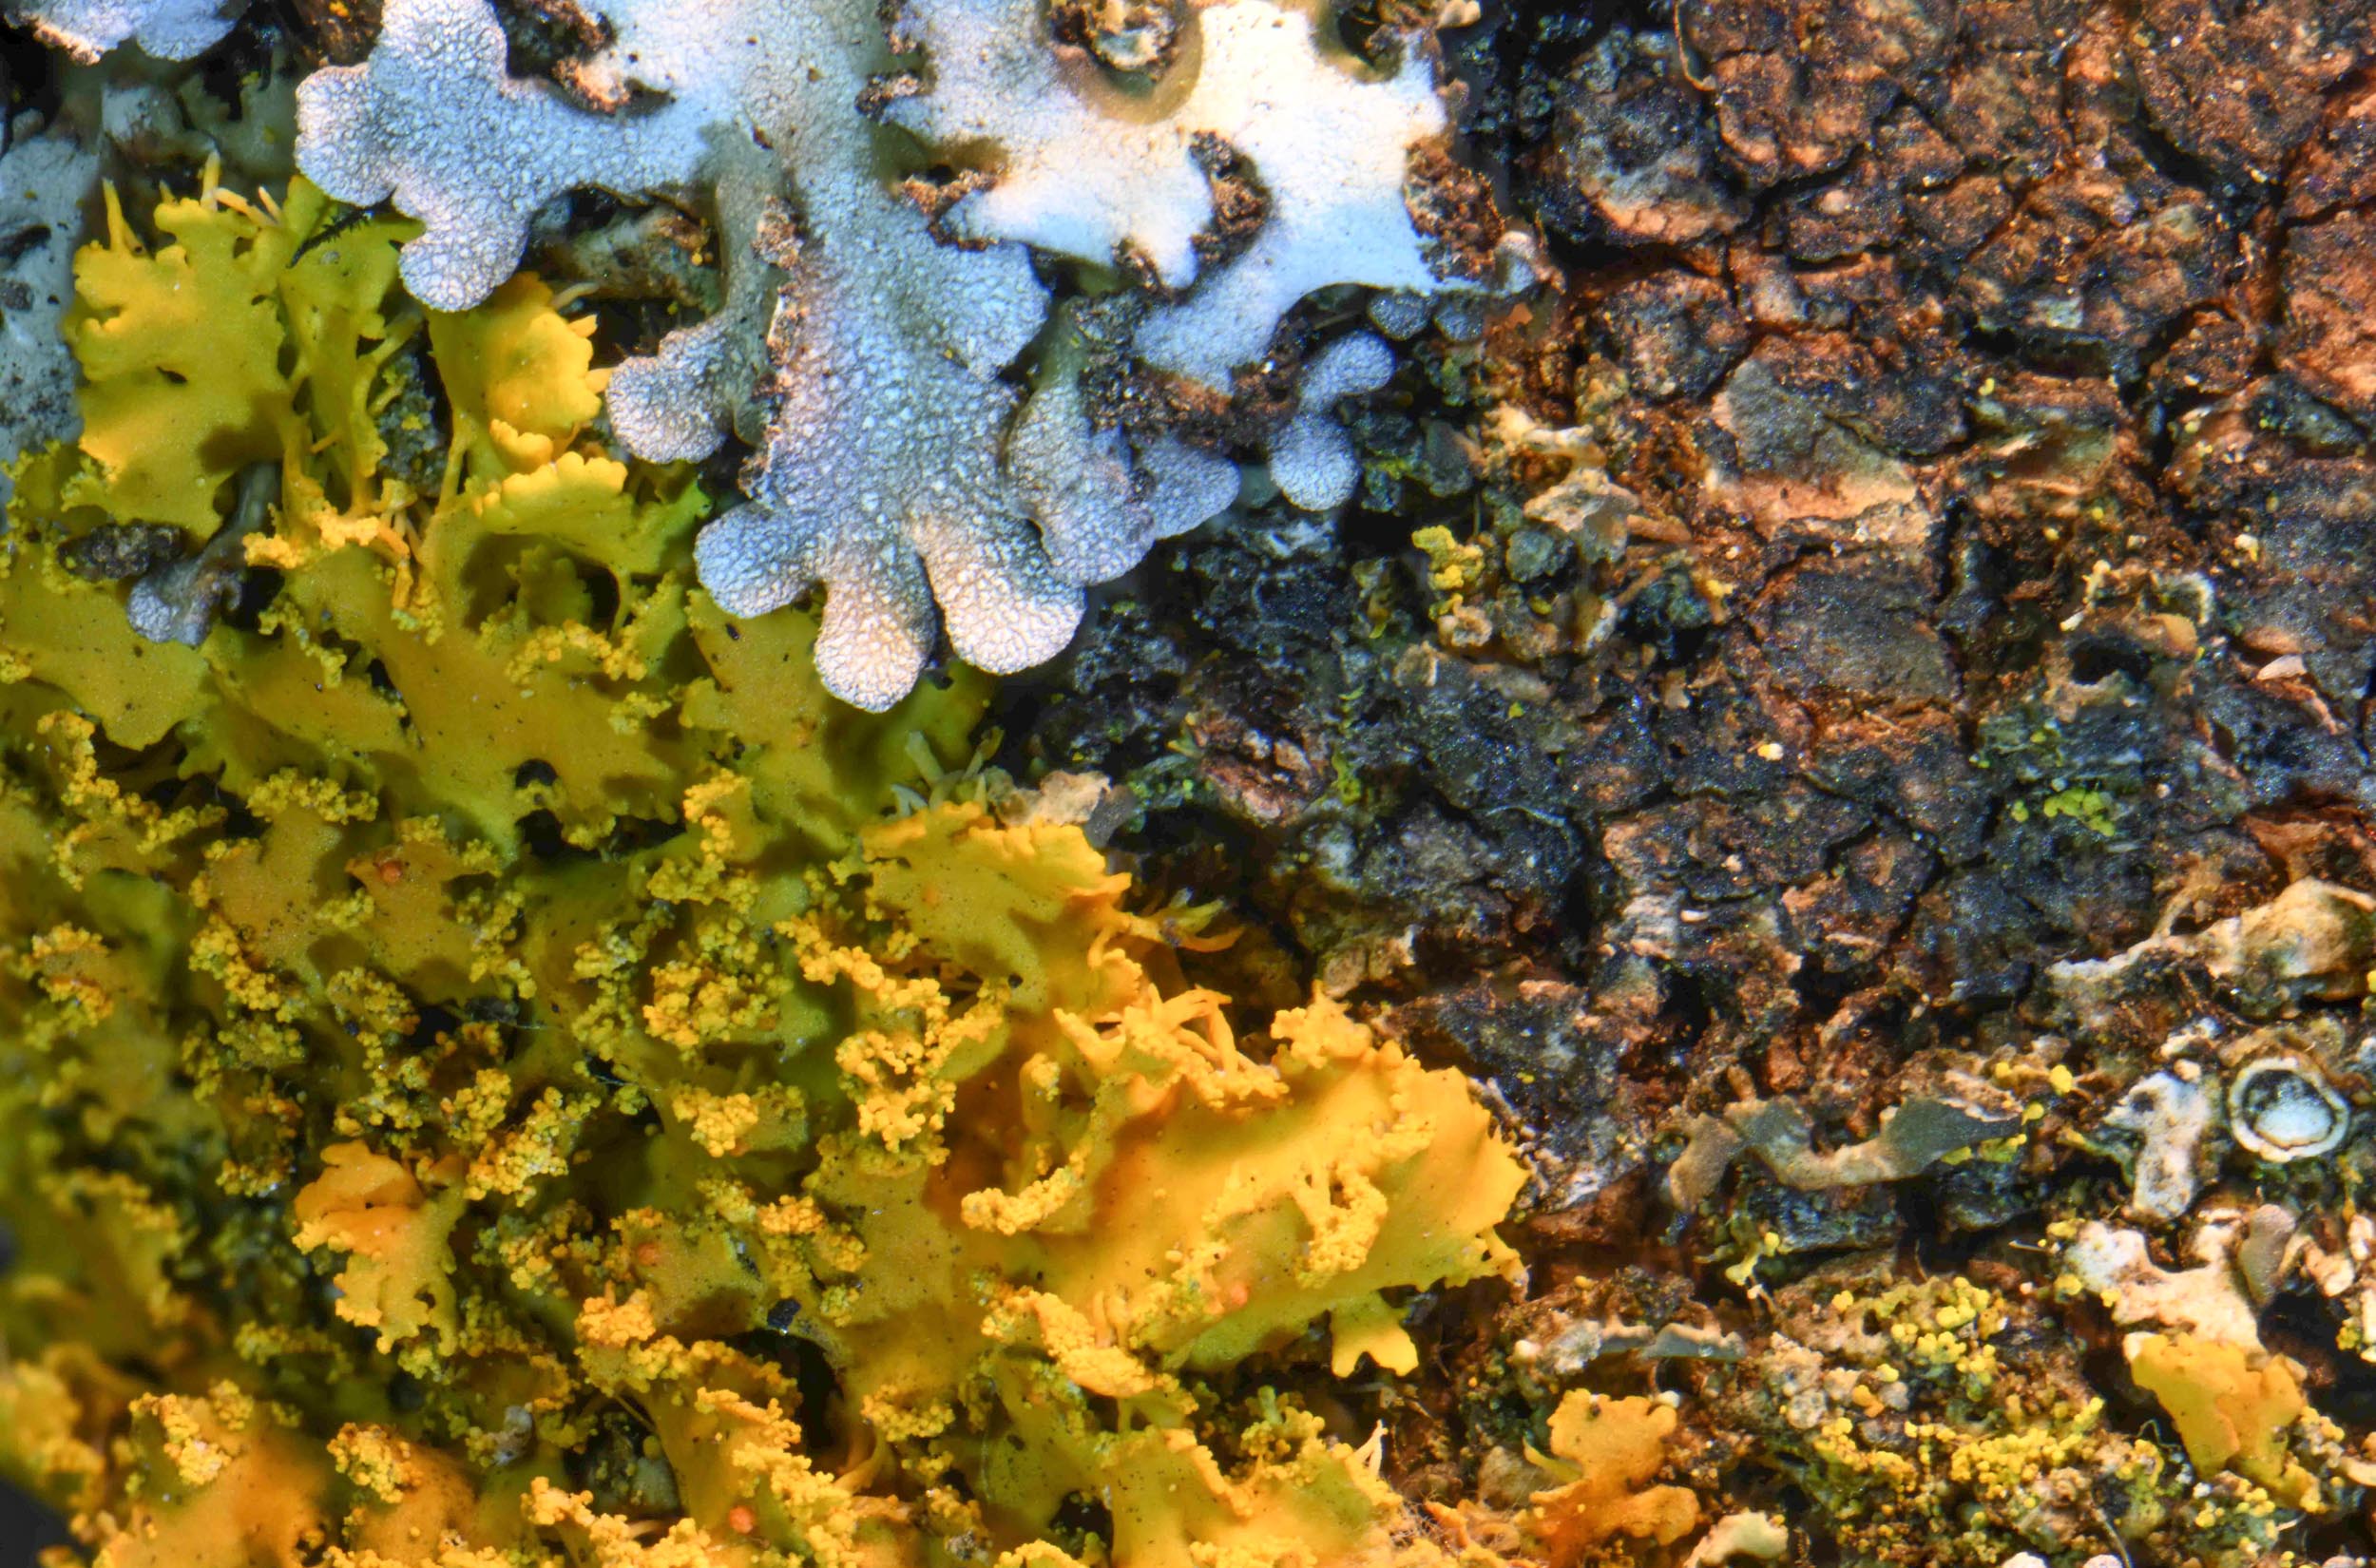
Here’s Marcie’s Microscope Photos page, and here’s an early example of what she’s capturing.
Focus-stacking
This setup requires the use of focus-stacking. Full stop. I’m not qualified to explain why it’s so hard to “just take a picture through a microscope and have it all in focus” — and haven’t found a good article to link to yet.
Marcie’s pictures usually have between 10 and 20 photos to bring each part of the subject into focus. That’s a bit on the skimpy end, most recommendations tend toward 30-50, but Marcie’s found that range works for what she’s doing
The LMScope folks strongly encourages the addition of a StackShot rail to automate the process of stepping through shooting the photos in the stack. That especially makes sense when dealing with 50-photo stack. I was pretty sold on that idea (and have the LMScope adapter), but Marcie has found that she doesn’t really need it yet, especially now that we’ve added our super-fancy custom labels to the focus-knob on the LMScope. Here’s a picture — I made them with my handy Dymo label maker (that’s a lot of lower-case “L’s” in a row).

Lights
Wow! Microscope lighting. Now there’s a place where a person can spend a LOT of money. I was way down that rabbit hole when we came up with the idea of using the four high-intensity LED flashlights you see in the photo at the top. Those flashlights are adjustable — Marcie has them all set on the narrowest-beam highest-intensity setting. I’m really proud of my duct-tape AND rubber-band solution to an ill-fitting mic-holder. We had to buy a few more sets of rechargeable batteries for them.
Marcie is also very keen on the LED ring light that is included in the LMScope kit. It’s great for softening the shadows from the side-fired flashlights.
“Big Data”
This process throws off a lot of really big pictures in a hurry. Marcie compared JPG and RAW format photos and concluded that the difference was so small that it wasn’t worth using RAW. But even so, each finished picture can consume 400 mBytes of disk space (figuring a stack of twenty pictures at 20 mBytes each). Having a 4-disk RAID-0 SSD array helps sling all that data around.
Focus stacking also benefits from a fast computer. Marcie has an 18-core iMac Pro with 128GB of RAM and ALL of those cores are going flat out when it’s crunching through a stack — it takes it about 30 seconds.
“Big Money”
If you’ve been tallying, you’ve realized that this project could easily consume $10,000-$15,000. I have tried to do this for less and found that the results were really bad. Here are some things that caused me trouble.
I tried and tried to find a gizmo that could shoot pictures through Marcie’s trinocular scope. I think some of the results were actually better than we thought at the time. But we didn’t realize that we HAD to do focus-stacking and we also didn’t realize that we didn’t have nearly enough light on our subject. If you’ve already got a rig that you don’t like, try blasting away with those flashlights and focus-stacking the pictures.
If you’re just getting going, here’s a good blog post about using bellows on an SLR. I wish I’d found this one long ago. His formula would benefit from more lights, and a sturdier mount. But it would be much more approachable than just diving into this rig.