
I decided it was time to make a little statement and add “always on” encryption to this completely innocuous site. The online equivalent of moving a lemonade stand inside a bank vault. Now when you read about refurbishing my car, or fixing a seed drill, you’ll be doing it over an encrypted connection.
This is another scratchpad post for folks who run an OXS Server and want to use a multi-domain UC (unified communications) SSL certificate. The rest of you can stop here — this is probably the most boring post of all time.
UPDATE – May 2016 – Cloudflare Origin Cert on an OSX Server:
This section describes using Cloudflare Origin Certificates, the following section is the original post where I was installing a Godaddy cert.
I’ve taken to using Cloudflare for all my sites. If you haven’t come across them, I heartily recommend you take a look — they’re a pretty nifty gang. Somewhere along there they added SSL to all the connections from end-users to their servers but that left the link from Cloudflare to my sites unencrypted.
They now support several ways to secure that connection – most of which are free. Free is good, since commercial certs to cover the 20 or so websites I host start to add up. I decided to try implementing their preferred approach where they issue me an “origin cert” (rather than using a self-signed cert which wouldn’t give end-users as much confidence).
Doing that on OSX Server is dead simple. Here are the steps
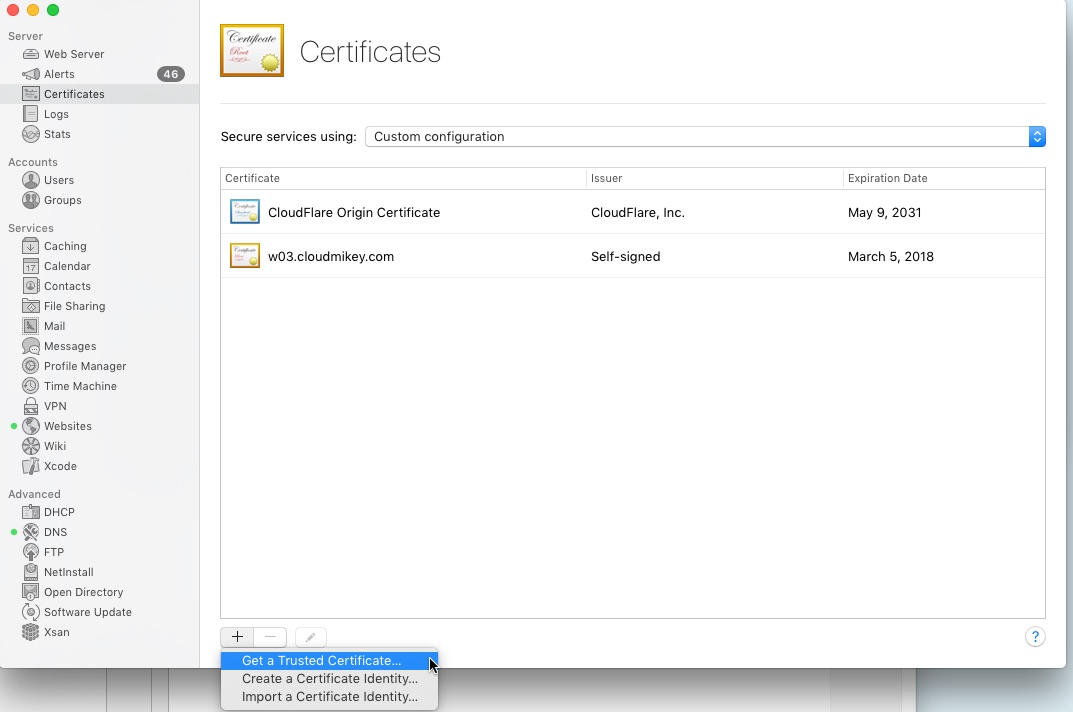
Create a new cert-request on OSX Server.
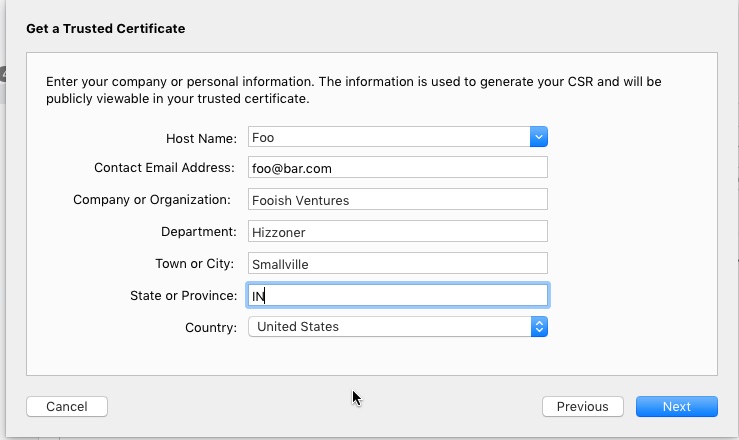
We’ll create one for my buddy Foo (at bar.com).
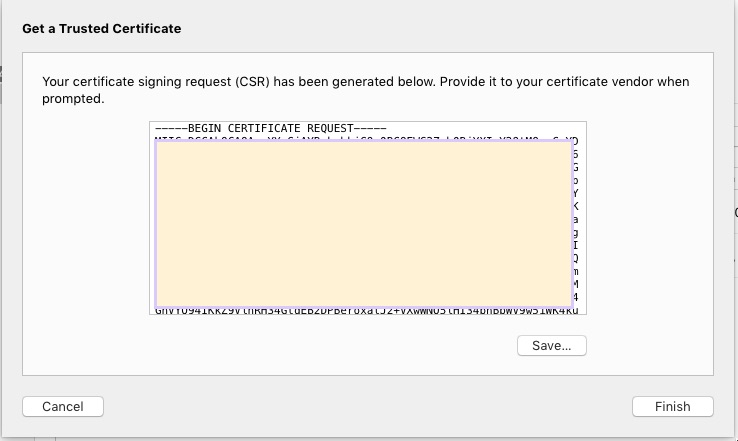
Which results in a cert request that looks like this
Go to Cloudflare (I’m assuming the site is already established there) and submit the cert request. Note that I’ve elected to submit my own CSR. Cloudflare has a pretty interesting process to do it on their own but I decided I needed to generate the CSR within OSX Server in order to have a socket for the cert when it is issued.
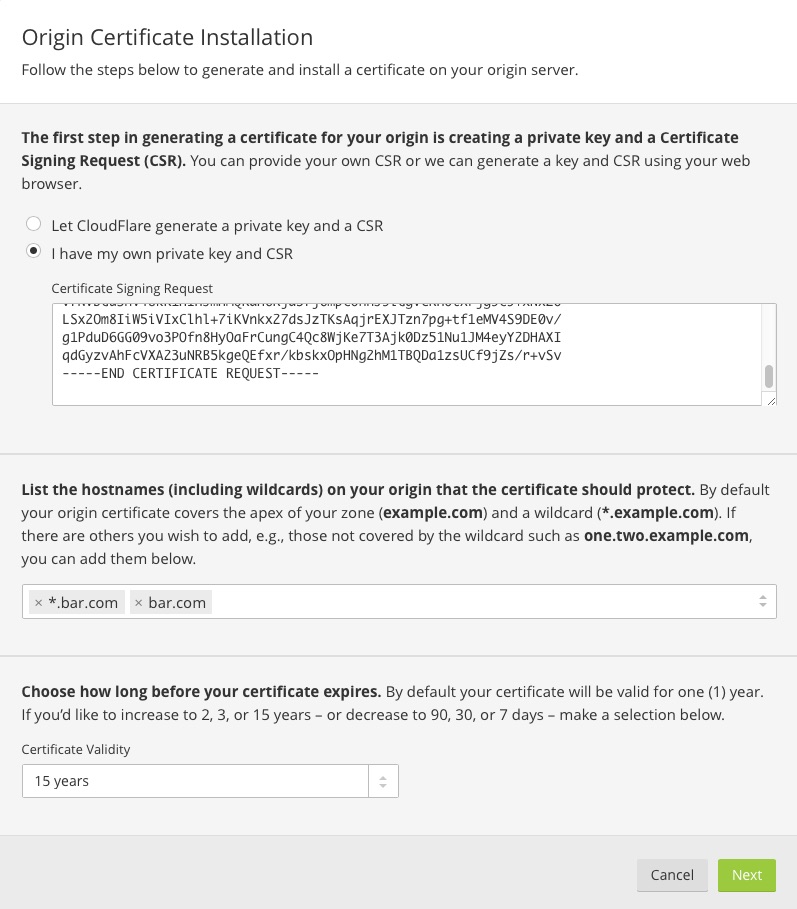
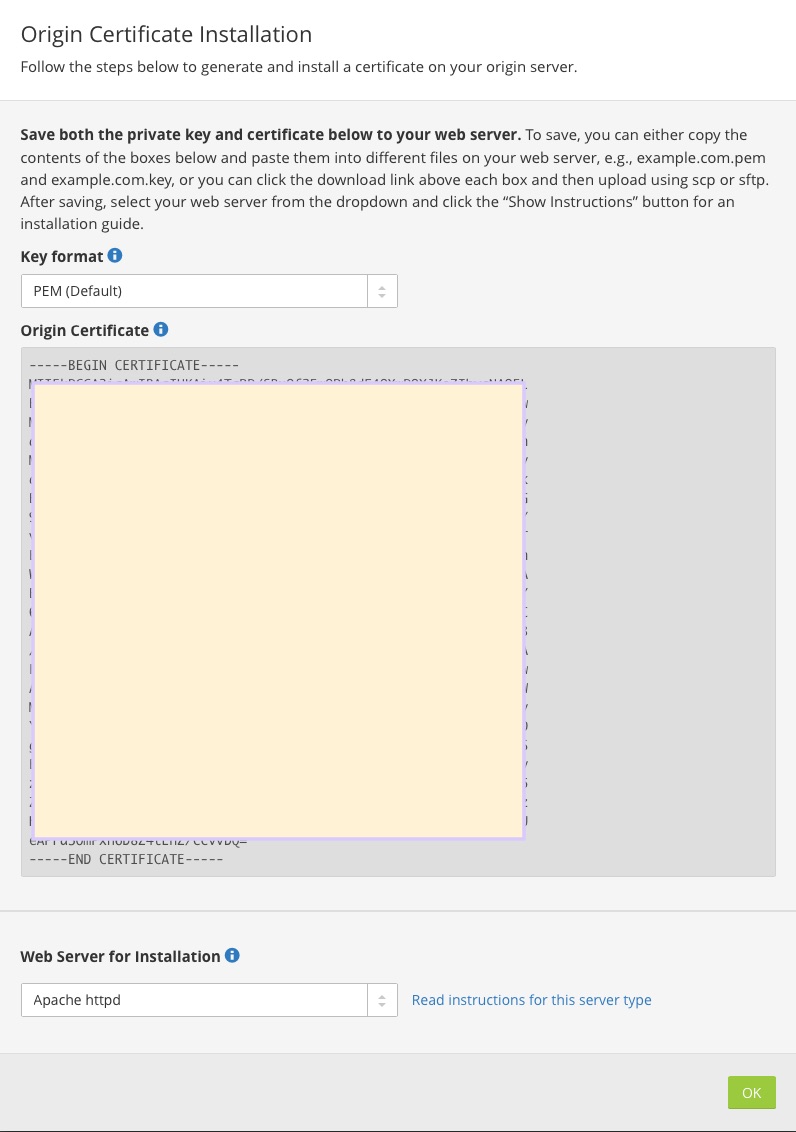
Cloudflare generates the cert and provides it in a variety of formats. I elected PEM format and the certificate appears in the window. I copied/pasted/saved that text into a new text file (demo-cert.pem in this example) and saved it to the desktop of the server.
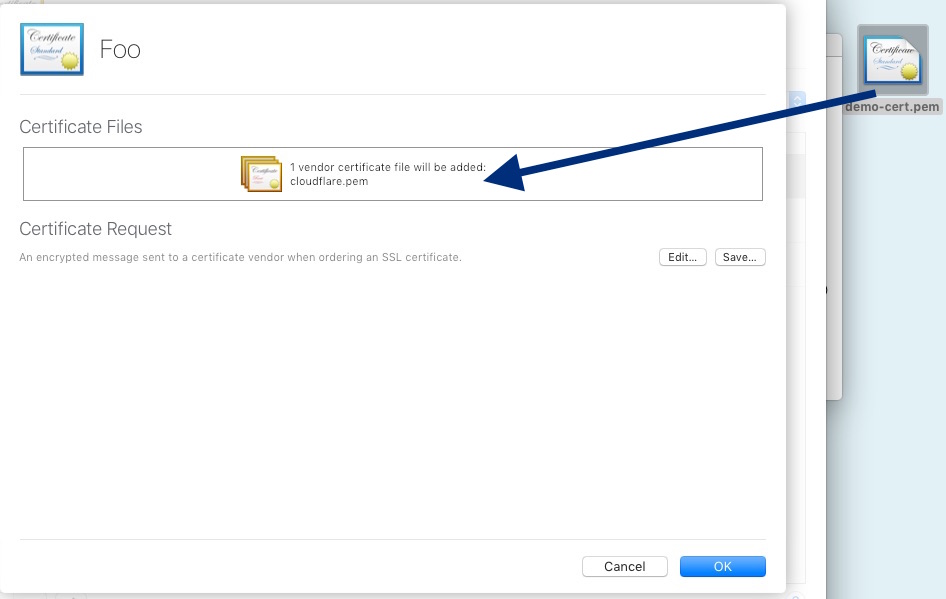
Back to OSX Server now. The CSR shows up as a pending cert in the Certificates window. Double-clicking it results in this screen. Drag the newly-saved demo-cert.pem file into the Certificate Files box and all is complete.
Create a new SSL web site, use the newly-installed cert, point it at the same directory as the port-80 cleartext site, do a redirect to the port-443 site to complete the job. Don’t forget to tick the “allow overrides using .htaccess files” box in Advanced Settings for the site so’s the permalinks work.
Original post – August 2014 – Godaddy Cert
I’m a happy Godaddy customer, so the examples in this post are Godaddy-oriented. But the theory should apply to any Unified Communications (UC) cert vendor.
Single-domain cert
Here is Godaddy’s list of steps for installing a standard single-domain cert. Click here to view the help page these came from. The process for a multi-domain cert is almost the same, but let’s start with “vanilla.”
To Generate a CSR with Mac OS X 10.7-10.9
- On the Mac, launch Server.
- Click Certificates on the left.
- Click +.
- Click Next.
- Complete the on-screen fields, and then click Next
- Either copy the CSR that displays, or click Save and save the file locally.
After you have successfully requested a certificate, you need to install the certificate files we provide on your server.
To Install an SSL Certificate with Mac OS X 10.9
- Download your certificate’s files “” you can use the files we offer for Mac OS 10.6 (more info).
- On the Mac, launch Server.
- Click Certificates on the left.
- Double-click the common name of the certificate you requested.
- Click and drag the certificate and bundle files into the Certificate Files section.
- Click OK.
This installs the certificate on your server. To verify its installation, you should see your certificate’s common name listed in the Settings menu.
Multi-domain Unified Communications (UC) cert
There are two things that are different when using a UC cert.
Change #1) Use one CSR to request the cert
- Create one certificate signing request (CSR) in the OSX Server app, no matter how many domains are going to be covered by the UC cert. The CSR is just creating a socket into which the certificate is going to be installed by OSX Server and only one such socket is needed.
- All of the domains added through Godaddy’s “manage Subject Alternative Names (SAN)” process will work once the cert is installed.
- Take care in choosing the domain name when creating the CSR. This will be the “common name” on the cert and is the only domain name that cannot change later. This is the apex of the hierarchy of the cert and is the only one that will appear if site-visitors view the cert.
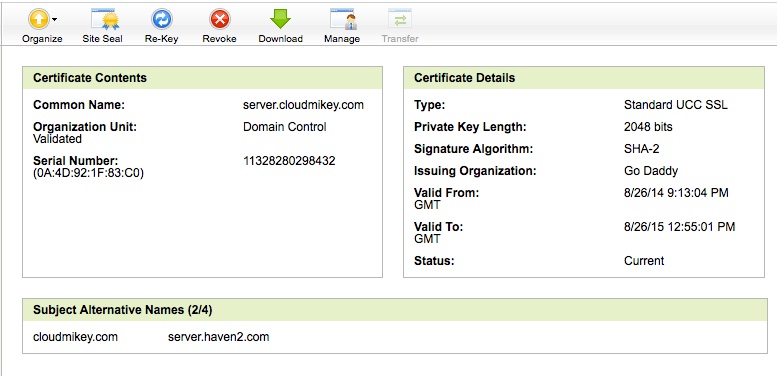
- The picture below is an example of the Godaddy management interface looking at a (prior version of) the cert that secures this page. That cert appears in OSX Server’s list of Trusted Certificates as “server.cloudmikey.com” — that name came from the CSR I generated in OSX Server.
- The alternate domains that will also work with this version of the cert are “cloudmikey.com” and “server.haven2.com” but those names are entered at the Godaddy end, NOT through CSR’s from OSX Server.
- To restate — just create one CSR and add the rest of the domains through the cert-vendor’s Subject Alternative Name process. In my case, the domain in the CSR was for “server.cloudmikey.com”
Change #2) Add domains to the cert BEFORE downloading it to OSX Server
- Don’t download the cert that’s created from the CSR just yet. It will only have the Common Name and doesn’t yet include the other domains that the cert will cover
- In the case of the cert shown above, the SANs “cloudmikey.com” and “server.haven2.com” were added through Godaddy’s cert-management interface before I downloaded/installed the cert.
Follow the vendor-provided download/install steps.
Now that the cert has the proper names added, it installs the same way a single-domain cert does (see above).
To recap Godaddy’s instructions: download the OSX 10.6 version of the files, unzip them, click on the pending cert request in Server, drag the two unzipped files into the CSR when it asks for them, click OK and wait a bit while the cert installs.
Verify that the cert covers the domain-names that are needed
Once the cert has been installed, review (double-click) the cert on OSX Server to make sure that all the needed domains are there. The list of domains is in the middle of the cert, each entry is titled “DNS Name” If they’re all there, jump ahead and start assigning the cert to web pages and services.
If the names listed on the installed cert don’t match what’s needed, add the missing domains before using it
- Delete the cert from OSX server (it’s OK, it’ll be downloaded again in a jiffy)
- Return to Godaddy and modify the Subject Alternative Names (SANs) to get the domains right
- Create a new CSR on OSX Server – again, this is just a socket into which the cert will install.
- Download/install/verify the cert
Note: The cert will install correctly as long as the domain in the new CSR matches one of the domains covered by the cert. But it will always be appear under the common name on the cert, which confused me. I surprised myself by installing this cert under a “haven2.com” CSR — it installed just fine, but it’s name changed to “server.cloudmikey.com” on the list of Trusted Certificates in OSX Server. Best to avoid confusion by creating the replacement CSR under the common name.
Once the cert is right, associate the cert with web pages and services.
- Web pages and services will operate correctly as long as the domain of the web-page or service matches one of the domains on the cert.
- It doesn’t matter that the common name of the cert (server.cloudmikey.com in this case) doesn’t match the domain of the web page (haven2.com).
That concludes my report. This web page is running under a later version of that cert — you can see what it looks like by double-clicking the “lock” in the URL bar of your browser.
Renew the cert
A year has passed and it’s time to renew the cert. Here’s a checklist:
- Launch the Server app, open the cert that is coming up for renewal, click the “renew” button, generate a CSR.
- Renew the cert at the cert-provider, using the newly-generated CSR (this is a copy/paste operation at Godaddy)
- Download the certs from the vendor once you have been validated
- Open up the “pending” cert again in the Server app and drag the newly-downloaded cert files from the vendor into the box that’s displayed.
- There should now be two certs in the Server app list — the current one and the new one. Update the cert configuration to point at the newly-renewed cert.
- Test with the new cert and once all is working and verified, delete the expiring one