
Definitely a narrow-audience scratchpad post. We love our electric Polaris Ranger EV utility vehicle here at Prairie Haven. But putting water in the batteries is not a lot of fun. Messy, tedious, slow, etc. So today’s project was to put a battery watering system in.
UPDATE UPDATE: ONE YEAR LATER
Everything is fine and we still heartily endorse this gizmo. Battery watering now happens once a month.
Winter tip (and correction): We do water the batteries in the winter after all. I use the EV to plow snow which is pretty tough on the batteries and makes them use more water than in the summer. It works fine in winter, but here’s the tip — don’t do this when the EV has been below freezing for a while. Sometimes the couplers freeze. It’s easier just to wait for a few days of above-freezing temps in the garage than it is to coax the couplers into doing their thing when they’re frozen.
We did forget to charge the batteries before we watered them once. THAT was a pain the neck because we had to go back to the “old way” of watering to siphon off the water at the top of the batteries. Never again! We’ve added this handy reminder-sign to the business end of the filler hose so we’ll never forget again.

UPDATE: one month later and the results are in
Wow. This is a complete success. We just watered the batteries for the first time and several things stand out. First, the batteries required dramatically less water — only a few ounces on each bank of four batteries. Second, the batteries didn’t require any cleaning because there was no spillage at all — unlike before where the battery tops were always covered with battery acid and needed extensive work before starting to do the watering. Third, as a result the job only took 5 minutes instead of the 3 hours we used to spend. Pry these out of our cold dead hands. Now, back to the original post…
Project start: 3pm
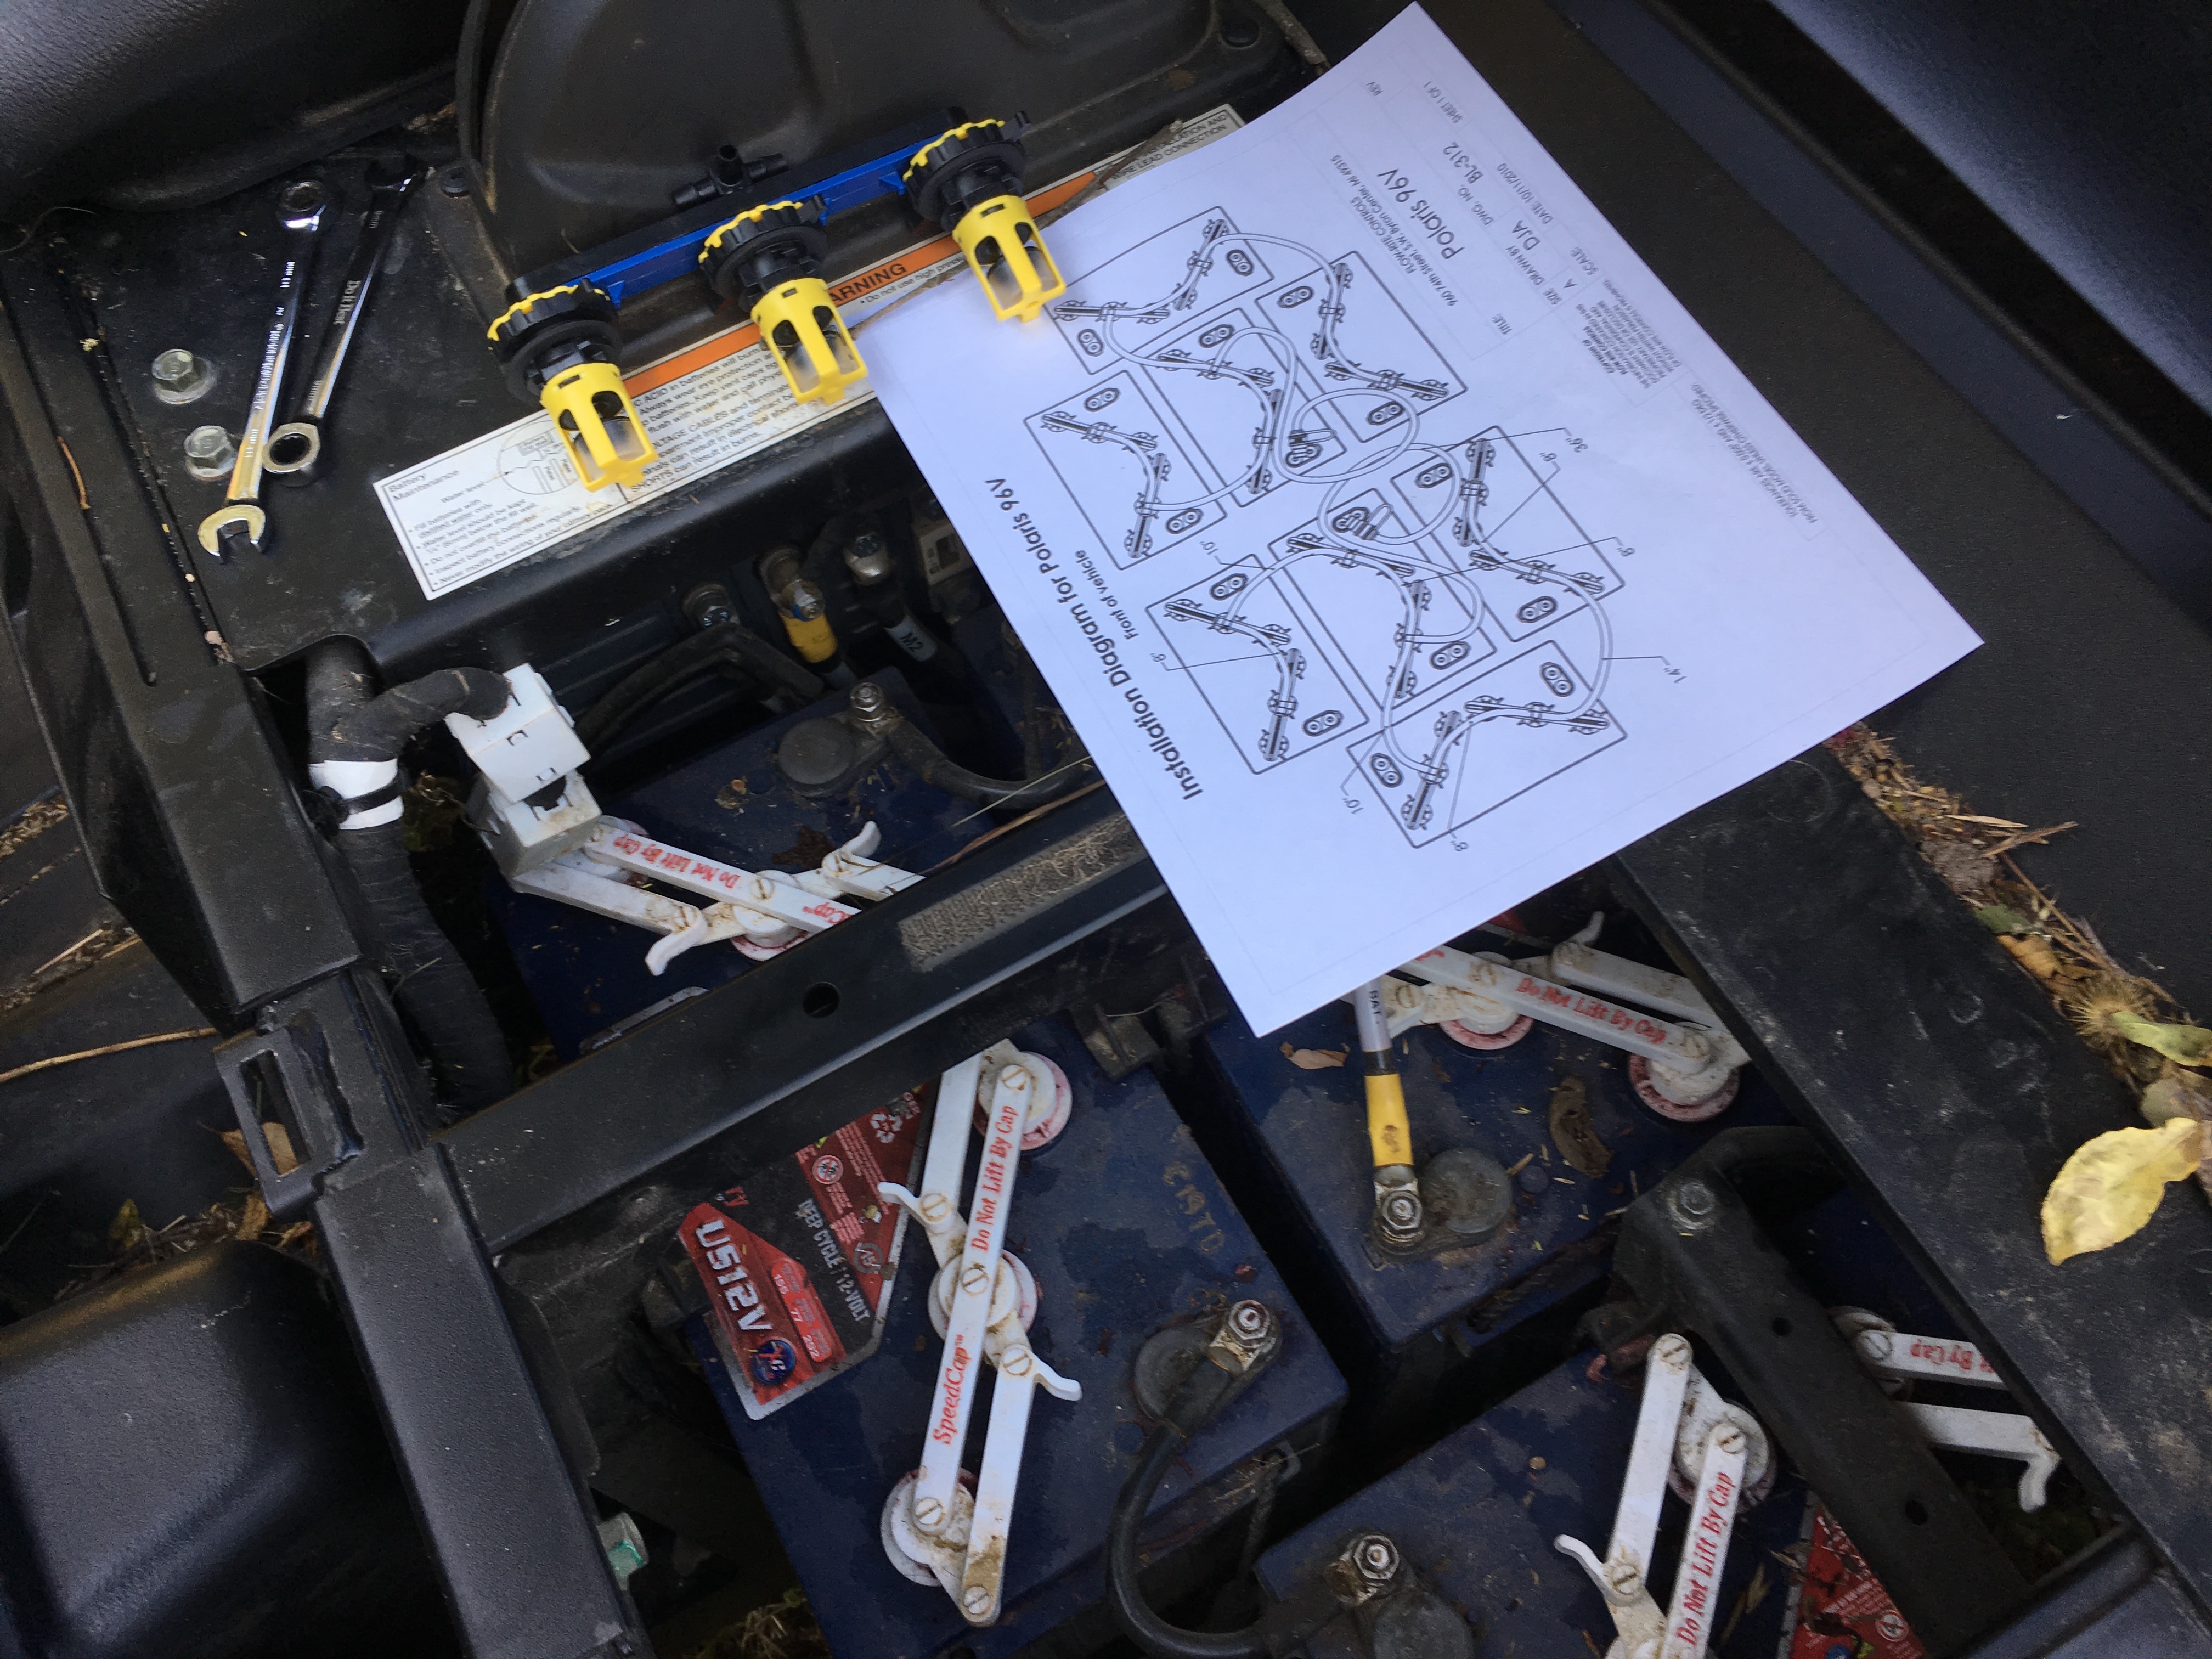
Standing on the driver’s side. There’s the diagram of the finished system (see below), an example of the gizmo that’s going to go into the batteries, the battery compartment and the really-useful ratchet box wrench for loosening the battery hold downs.
Bag of watering gizmos
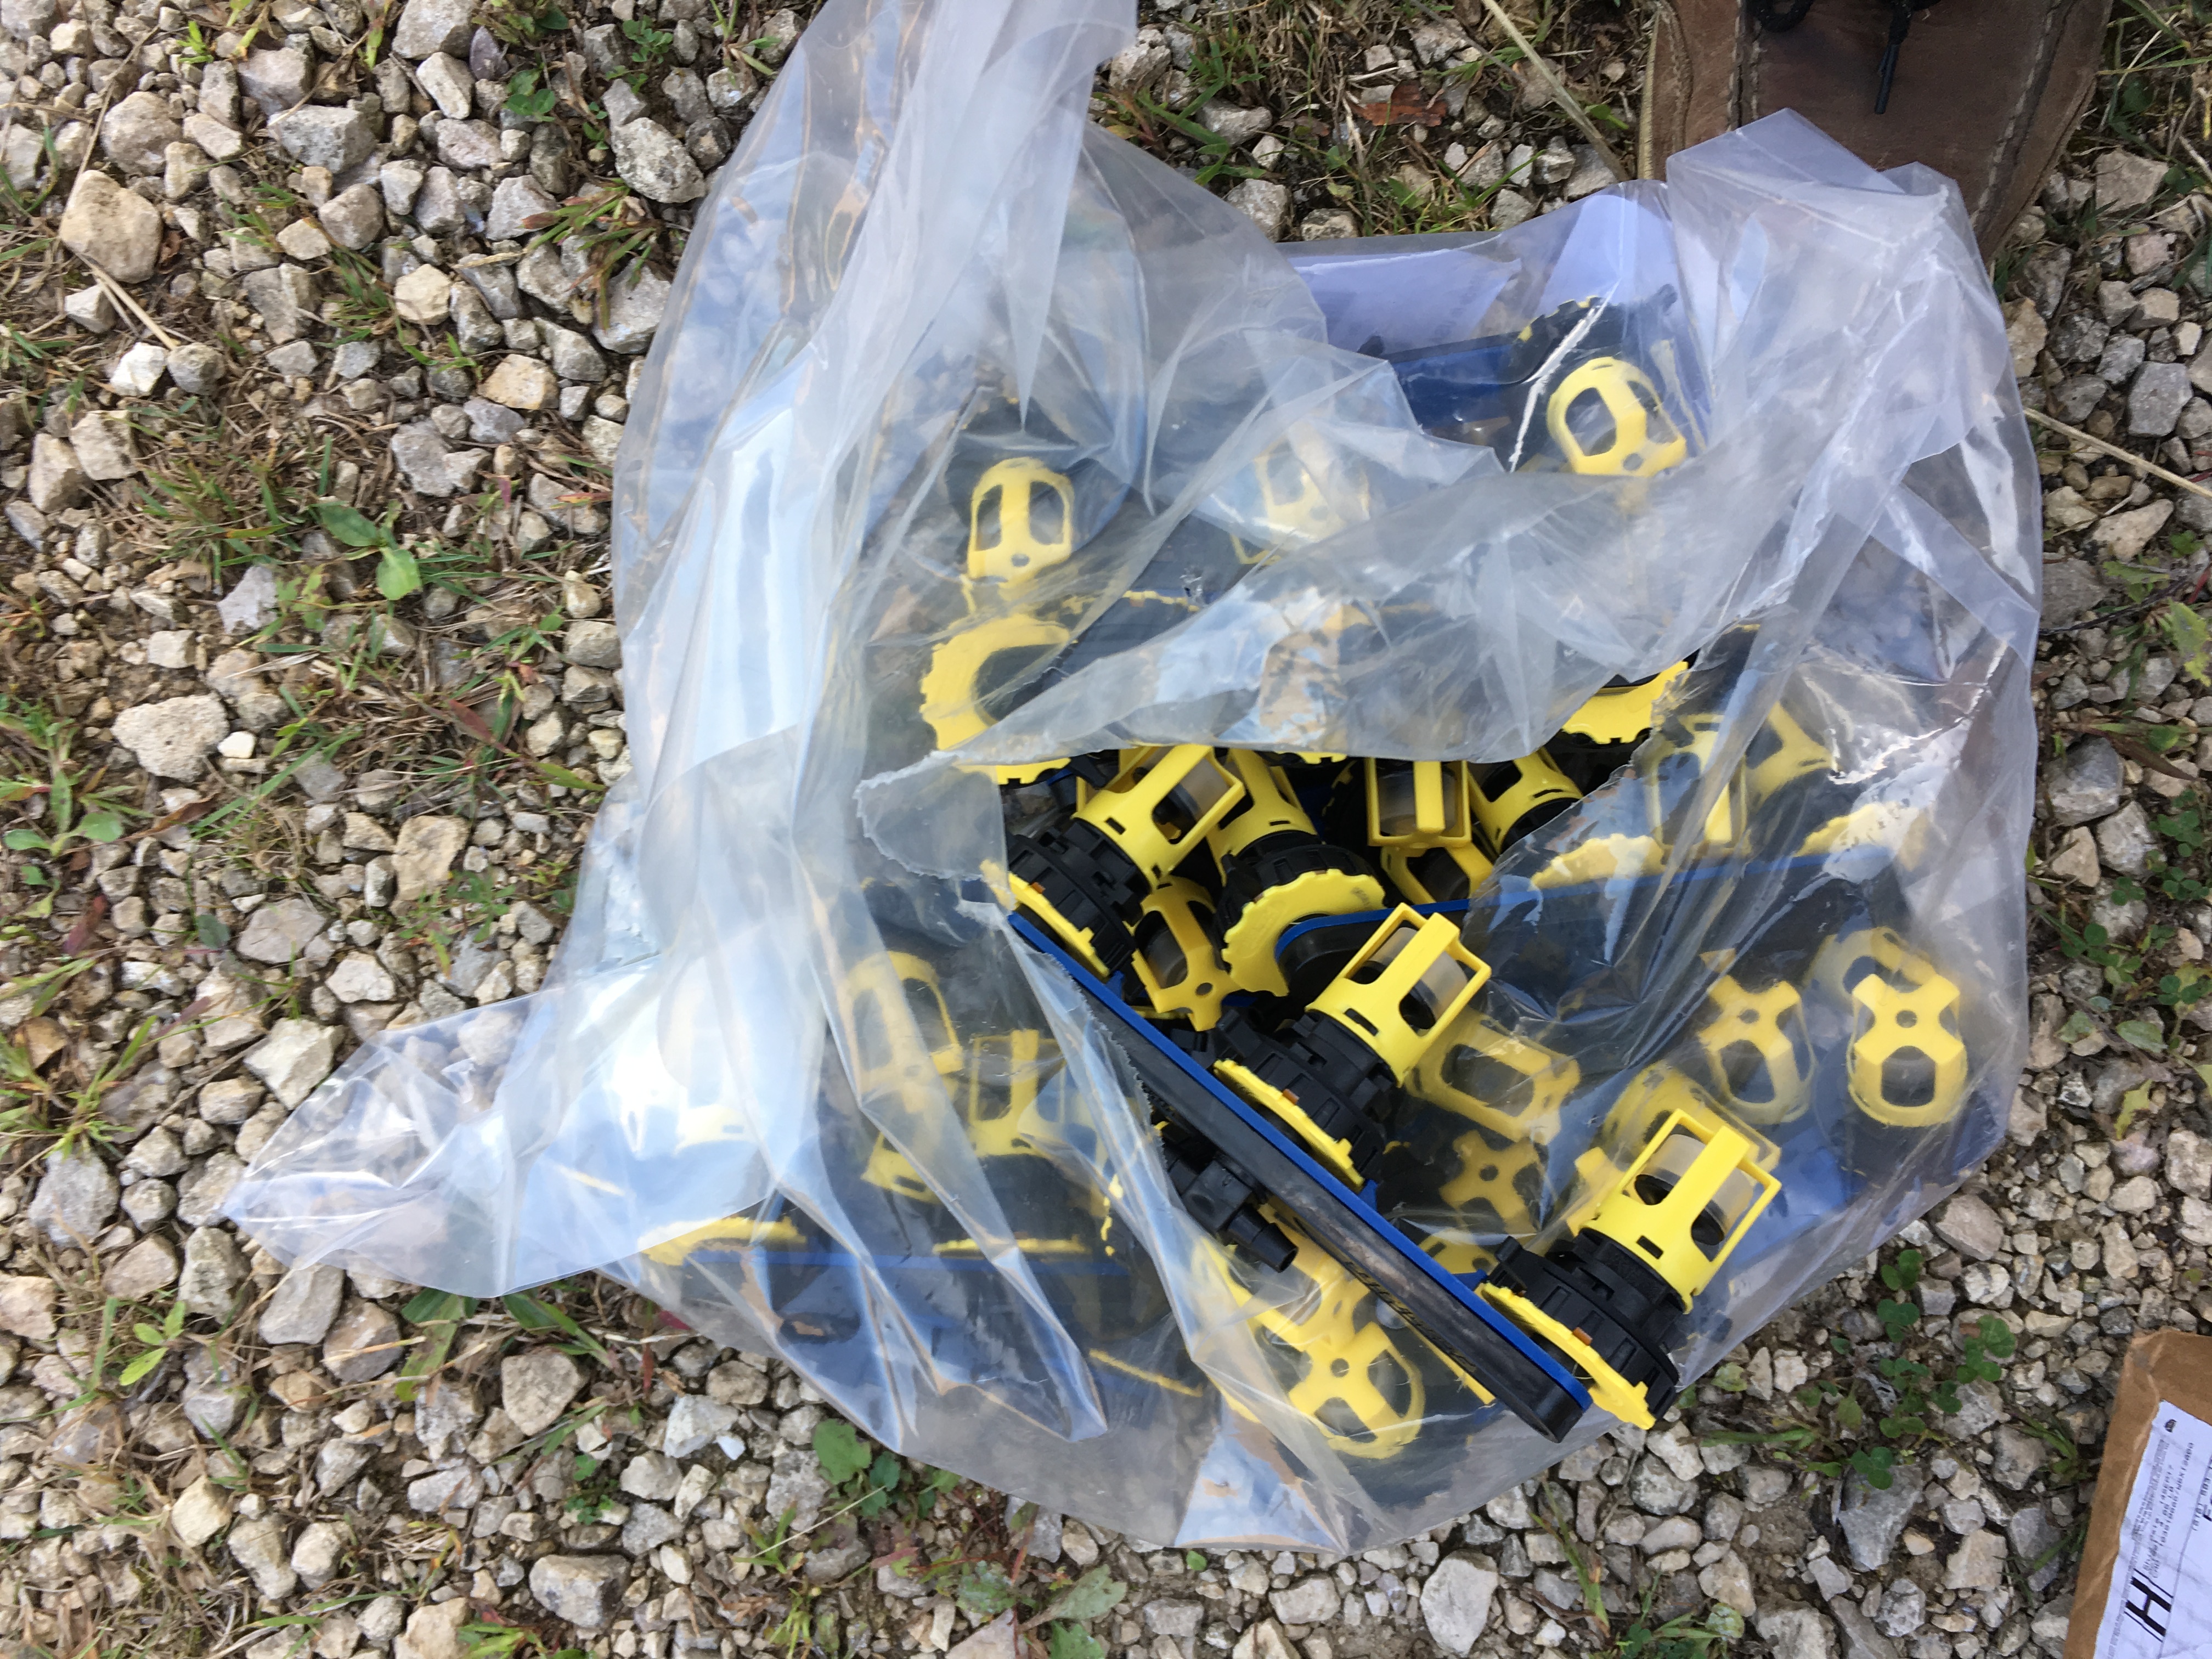
The kit came disassembled, which I really liked because we only needed to loosen the battery hold downs, not take them off. We could thread the hoses under the hold downs and wires before hooking them to the watering gizmos.
First couple watering gizmos
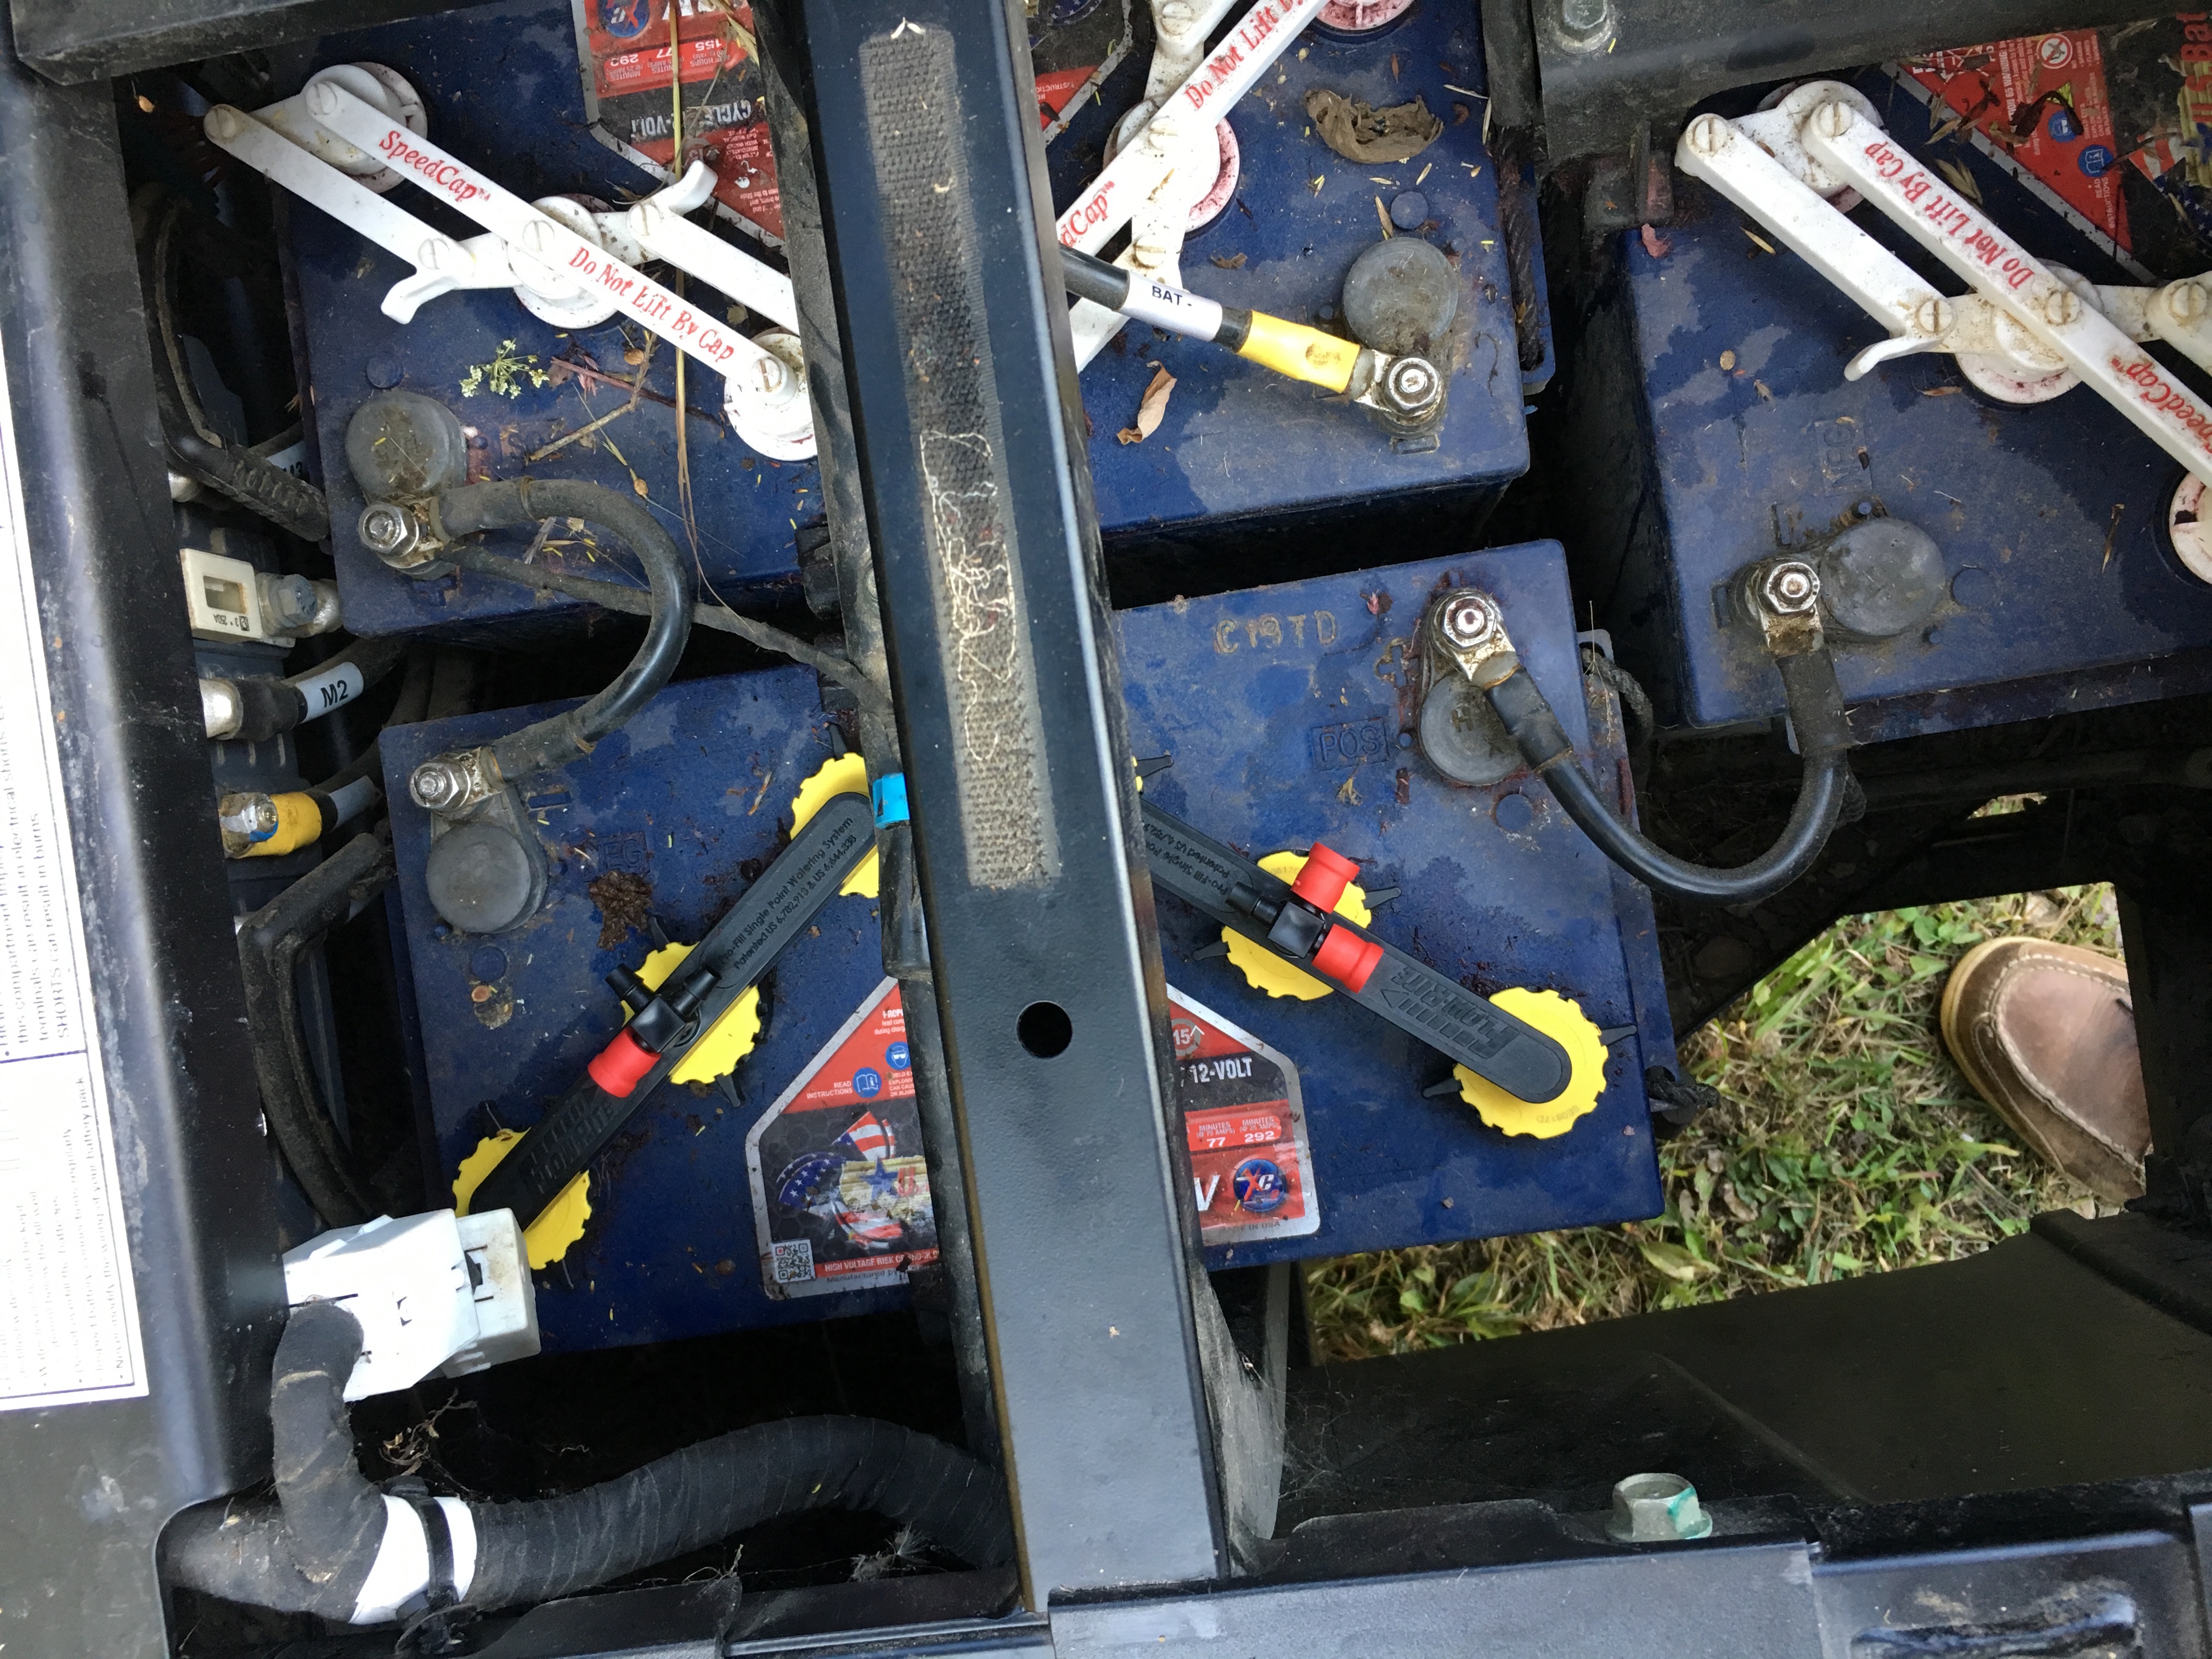
We picked the easiest ones to learn on (the hardest ones are at the back – you owners already know this). Having the hold downs loose was helpful for wiggling the gizmos in, but the breakthrough came when we started twisting the lockdown handles of the battery caps a bit. The little handles are what really collide with the hold downs, twisting them out of the way made a big difference.
Cutting and installing the tubing was easy — we mostly used the measurements on the diagram, especially the 8-inch lengths. Some of the longer runs (10-14 inches) had to be custom measured because the diagram didn’t match the layout of our batteries. We’d just stick one end of the tube on, hold it close to its destination and then snip it to fit. We wound up with about a foot of tubing left over, but we were prepared to steal some from the water hook-up hoses if we ran short.
It goes a lot faster with two people splitting the tasks
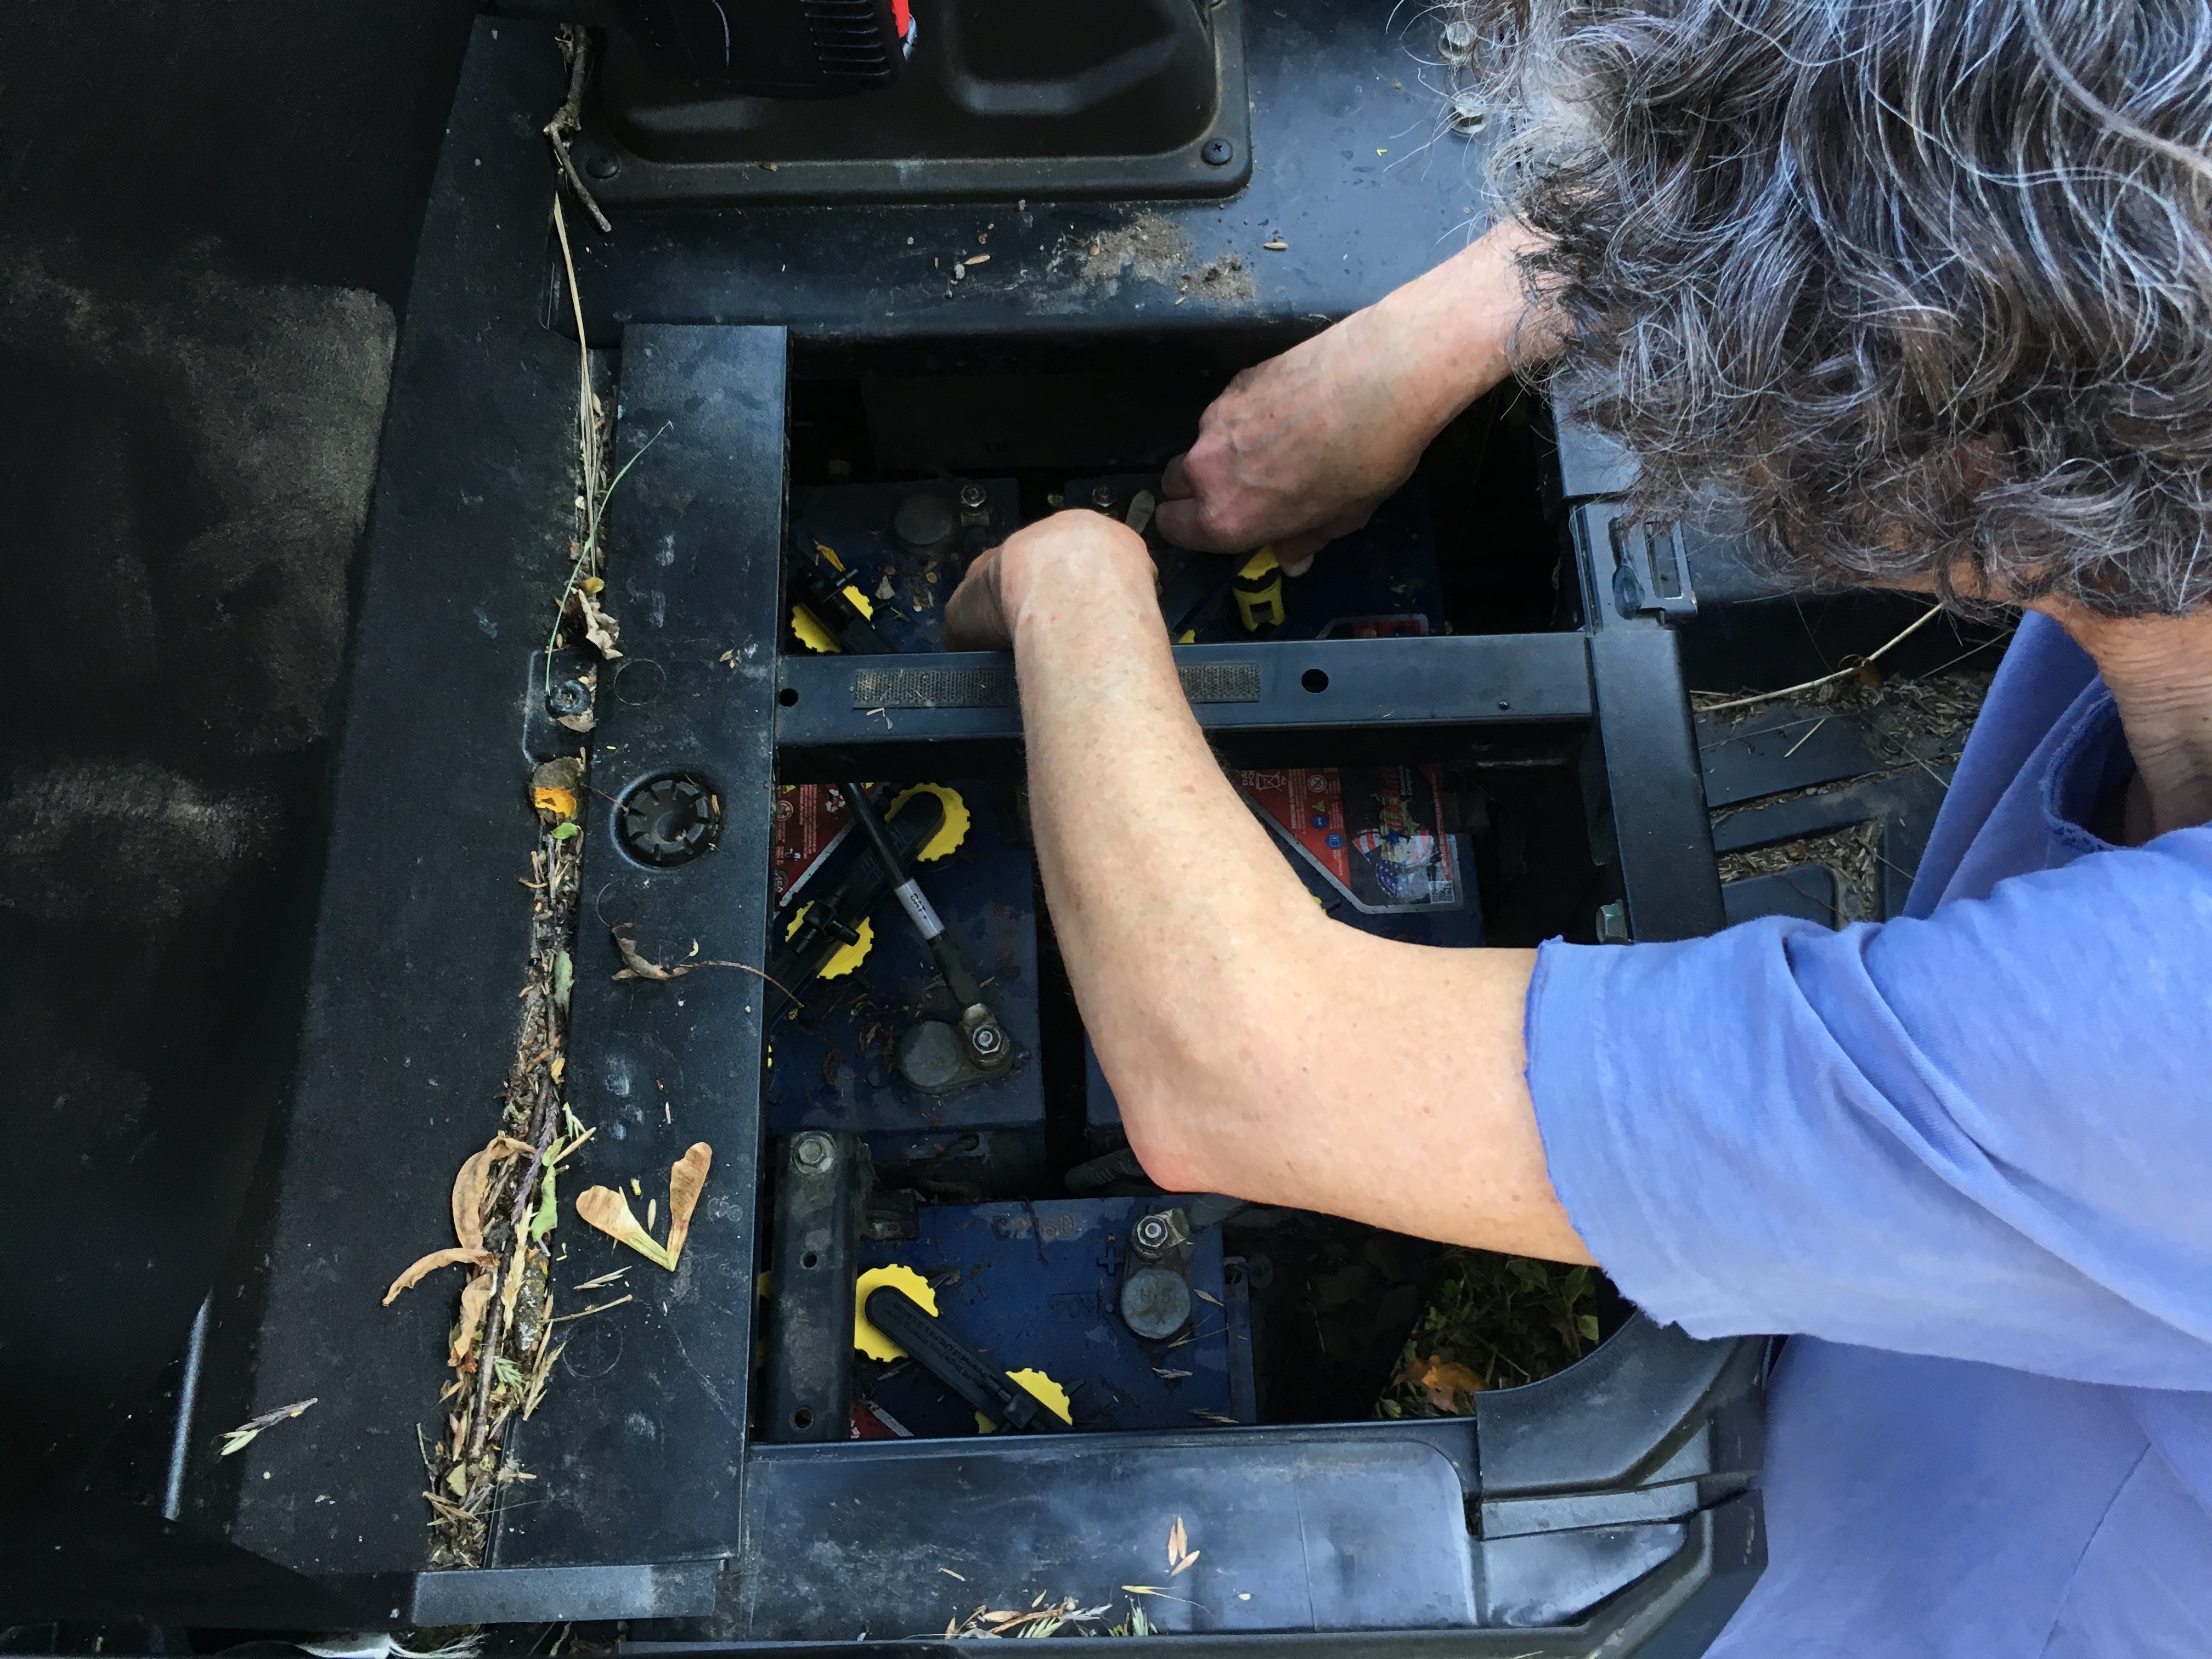
Here’s Marcie dropping gizmos into the batteries. It’s way more than twice as fast when two people can each be concentrating on half the job at hand. Otherwise there’s lots of changing position/tools.
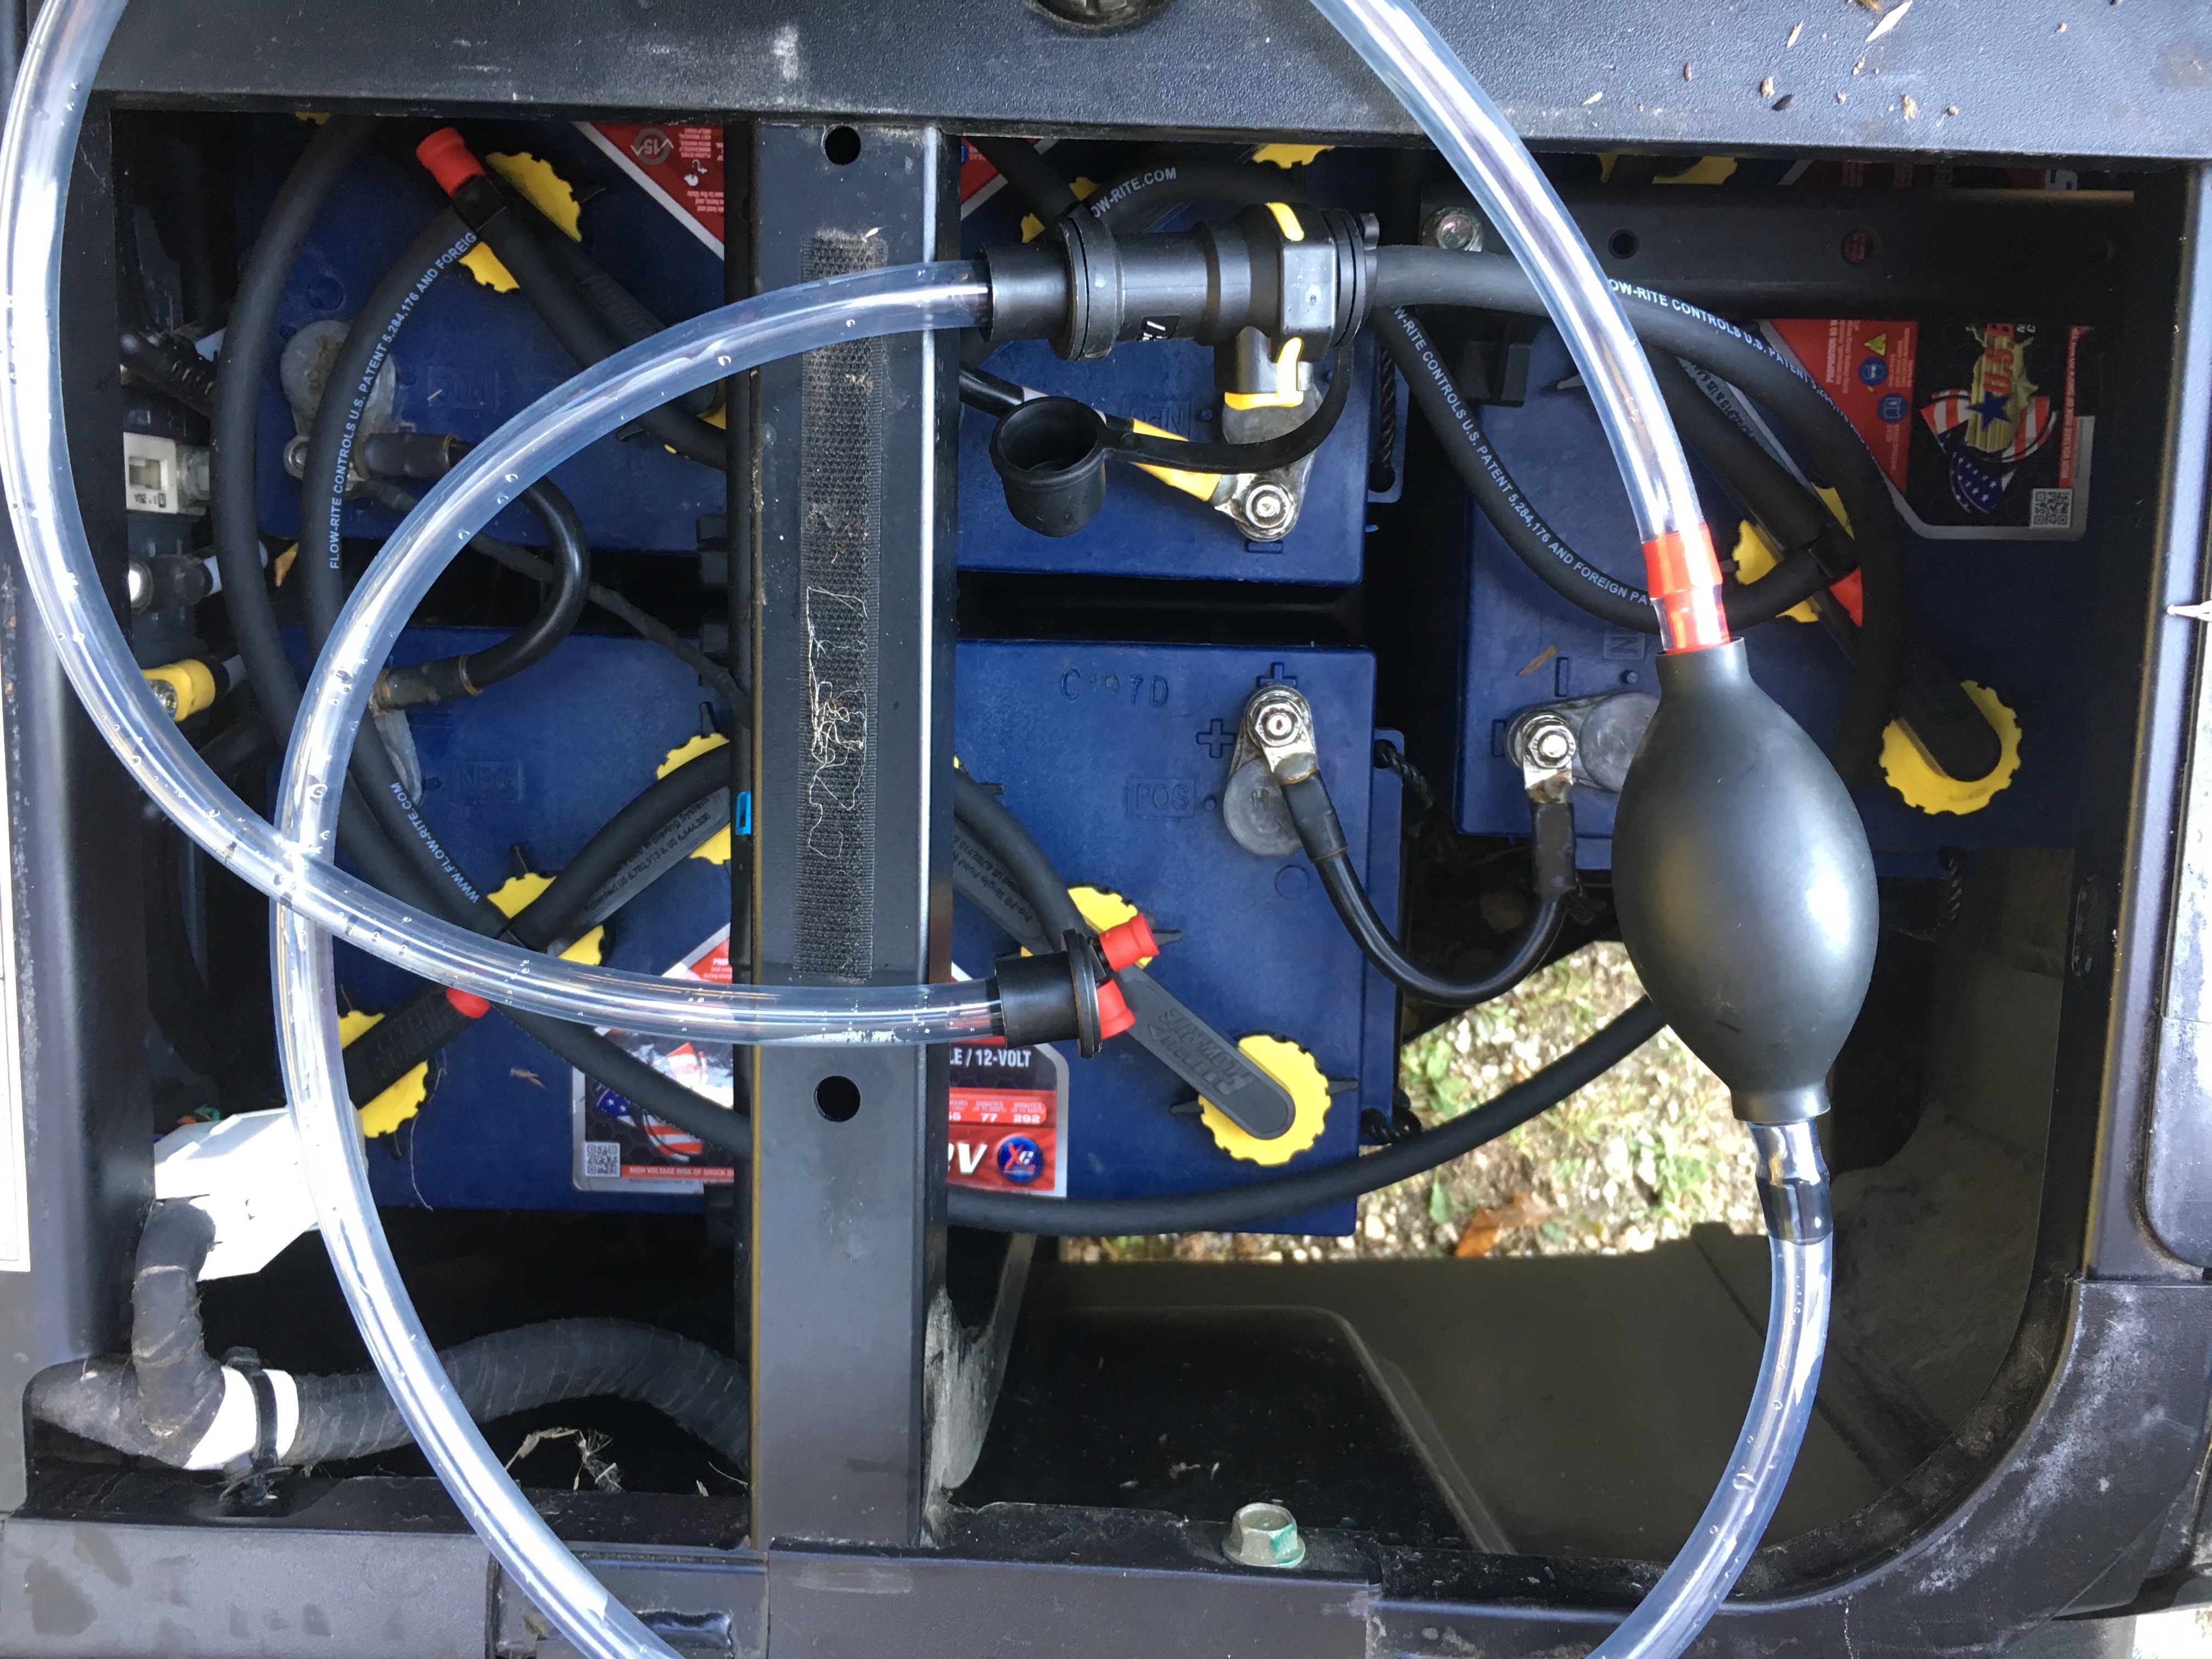
All done: 5pm

This is the way the finished product looked. This is the first side, just to keep things straight. The whole project took a couple hours and we could do it much faster now that we’ve done it once and learned some tricks.
Layout diagram

I know, the copyright notice is pretty intimidating — but hey, this diagram’s on their web site for all to see. Here’s the link to their site:
https://flow-rite.com/sites/all/files/file/pdf-pro-fill/layouts/POLARIS-96V.PDF
The part number for this rig is BG-U96V-1G
You also need the little squeeze-bottle filler that drops into a gallon of distilled water.
Results: The next morning

We watered the batteries (and cleaned them) this morning, remembering to charge the batteries before filling them. What used to be an “all morning project” was a short job that fit in before Marcie headed off for her real all-morning project.
Here’s an action shot — showing off my battery-watering pants. They’re more like a battery-watering apron these days. I think they can now be retired.
We splurged and spent a few minutes cleaning the batteries so they’d look spiffy for this final photo. Compressed air to spray off the debris, liberal dose of battery cleaner, rinsed them off with the hose and another round of compressed air to dry things off.
We were wondering if we’d be able to tell when to quit pumping water and accidentally overfill the batteries. No worries there — the little squeeze bulb just quits, we could both feel the really abrupt transition to “no more room” as we went to full-batteries. Those little floating shut off valves work great.
Today’s watering took about a gallon of water (pretty normal) and 15 minutes (pretty nifty!).
The EV
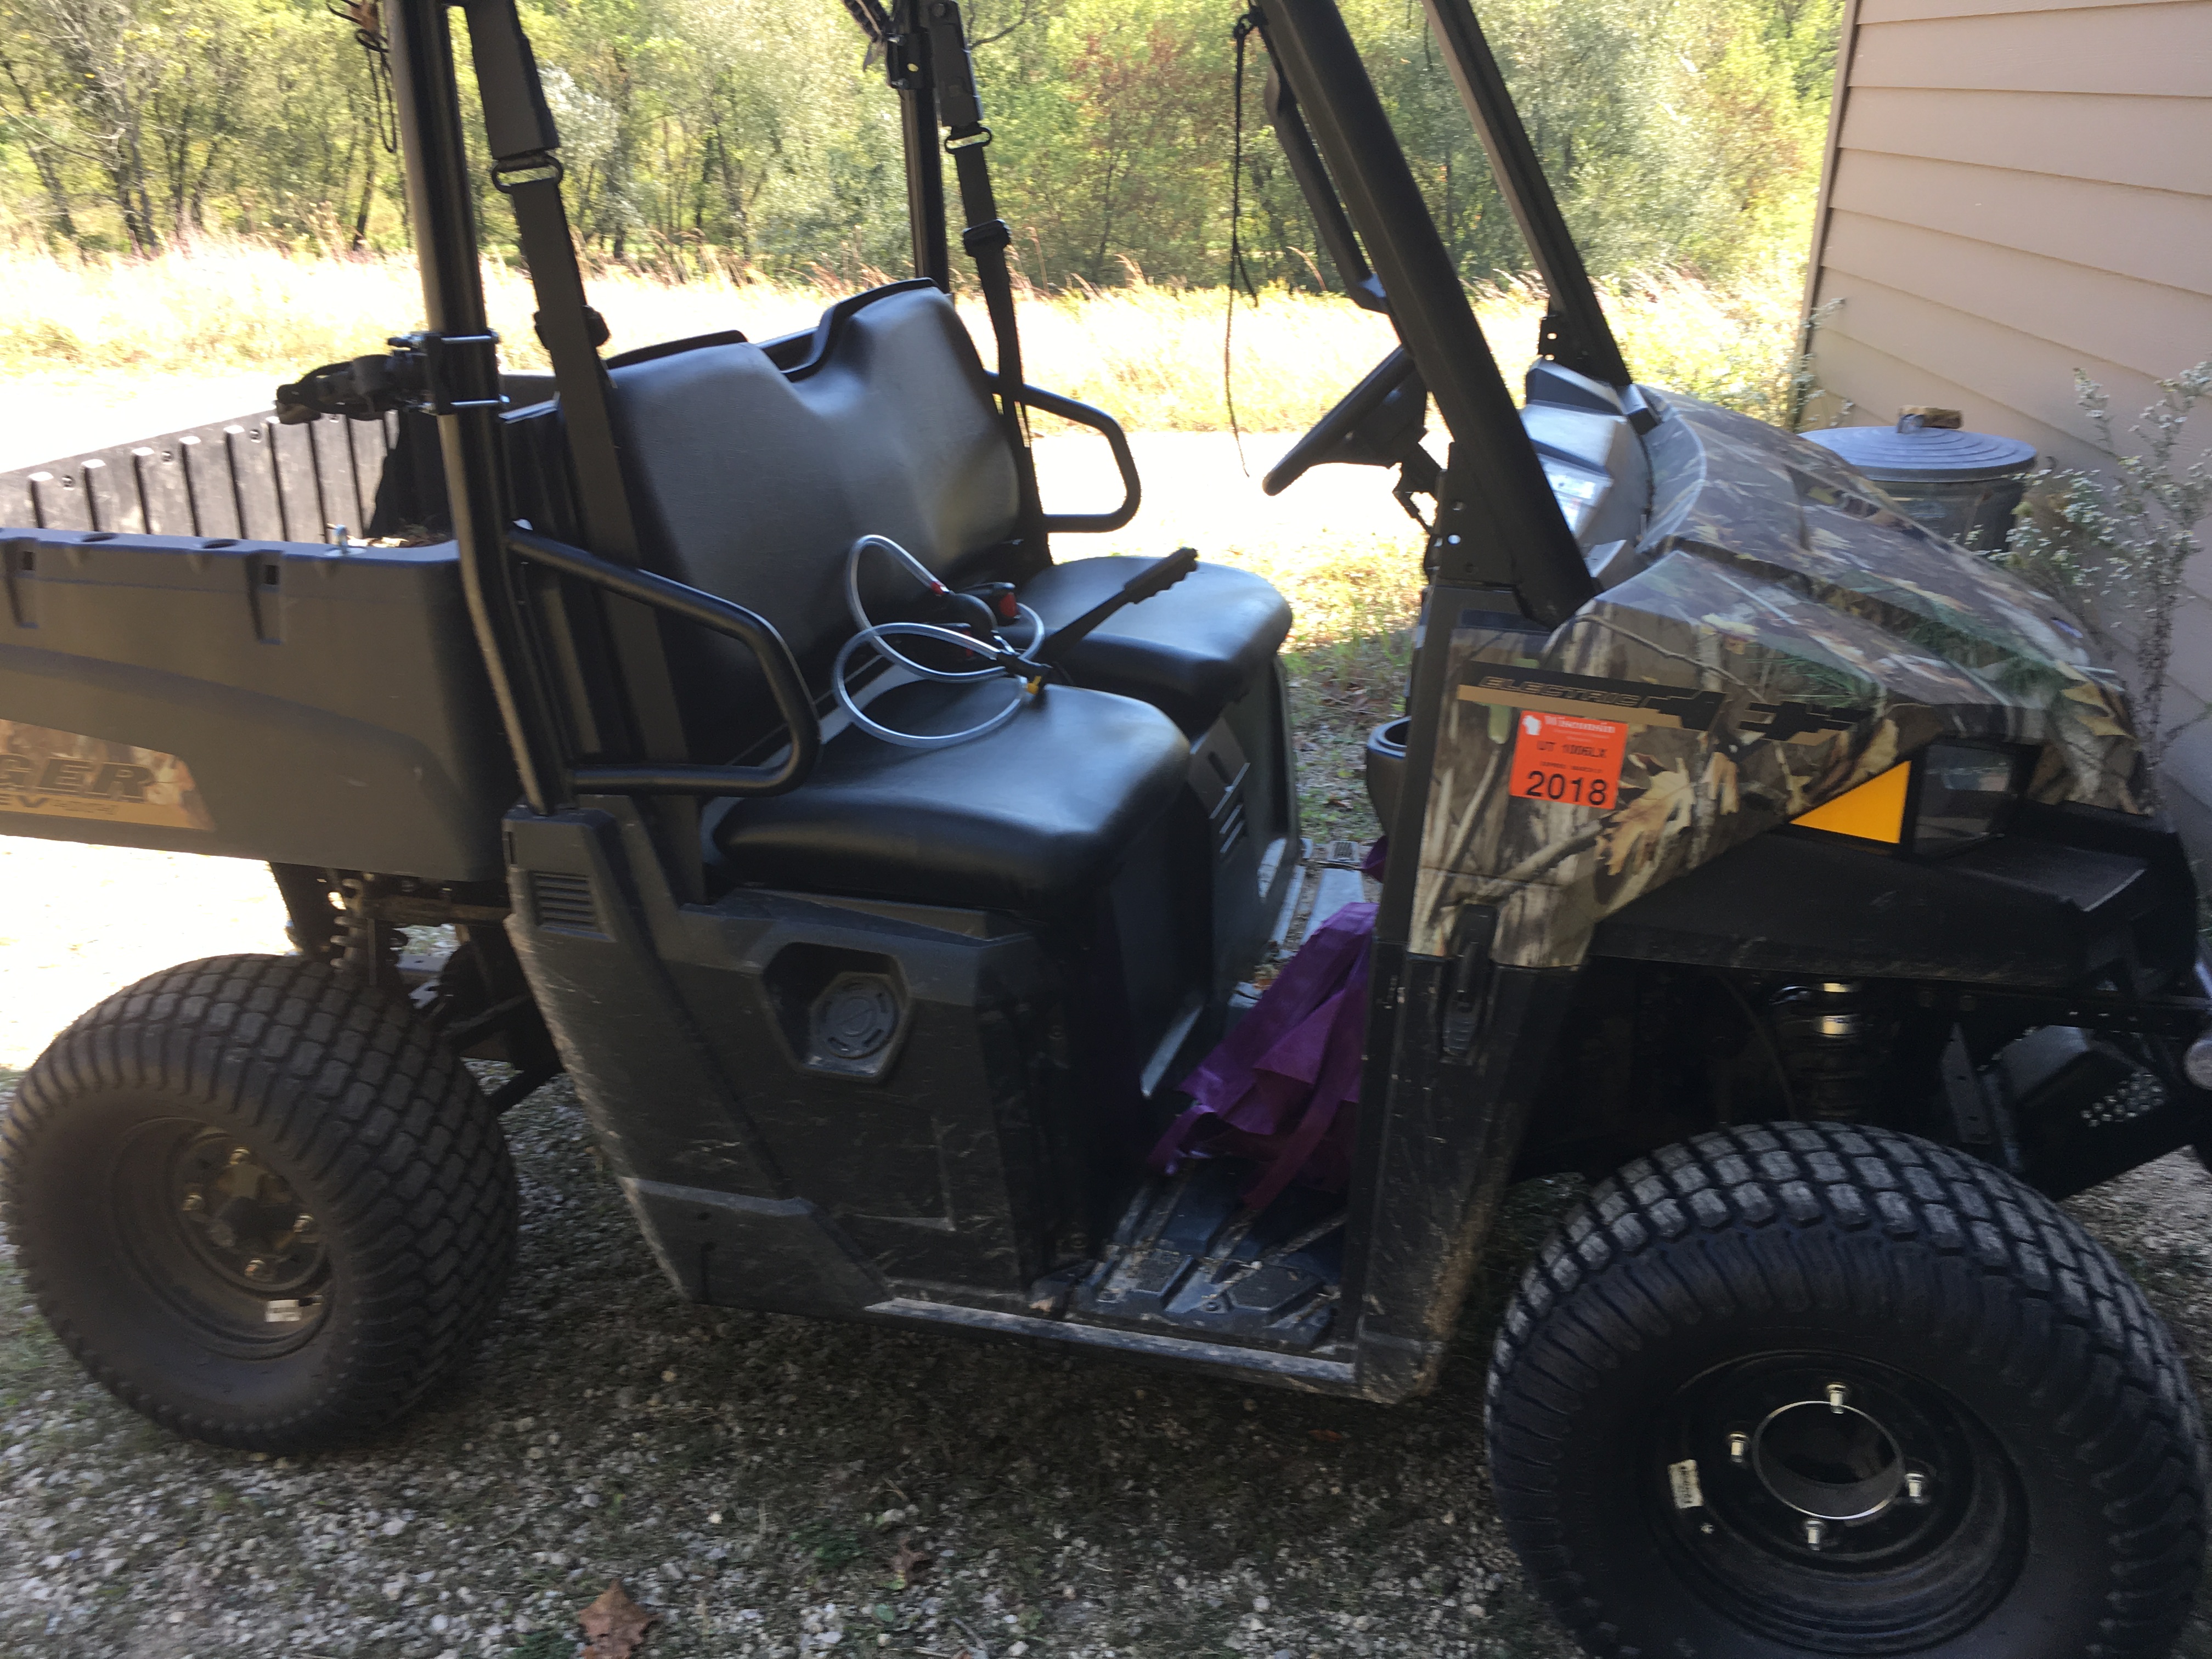
Here’s a picture of the compleat EV — purple collecting bags, wide/smooth tires and a watering system.
Winter Tips:
I talked to the folks who sold us the kit about what to do in winter. My main concern was that trapped water would freeze and rupture the tubing. They told me that the water finds its way into the batteries as the water level drops enough to open those valves back up. My plan is not to water the batteries in winter, just to play it safe.