
Written in 2013 – Updated (at the end) in 2025
So here’s a new thing for me to obsess about. The condition of the road in the summer time. This spring was especially tough on our road because the rain. never. stopped. So our road, which was already getting pretty ratty, turned into a nightmare this year.
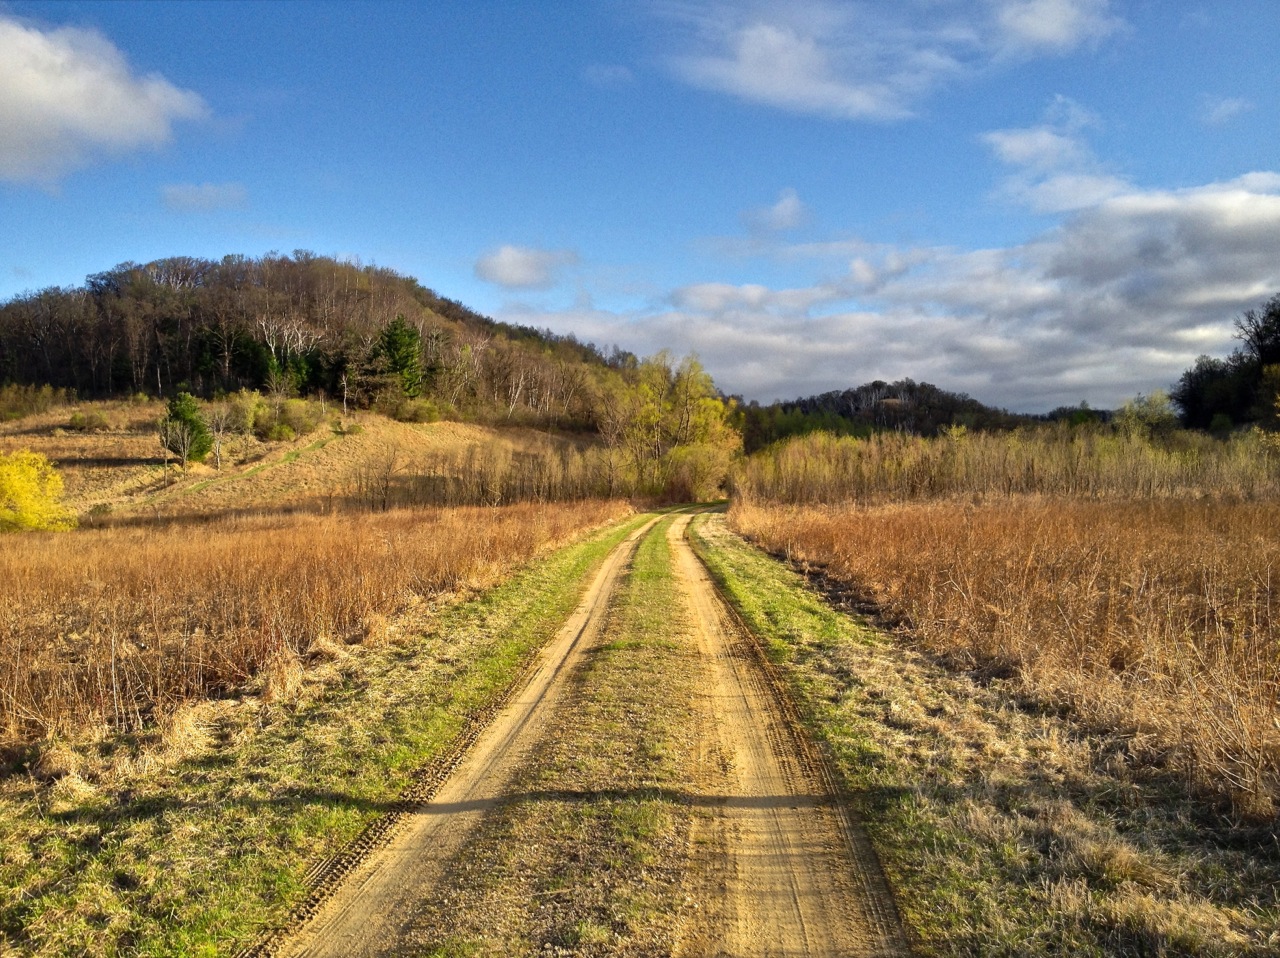
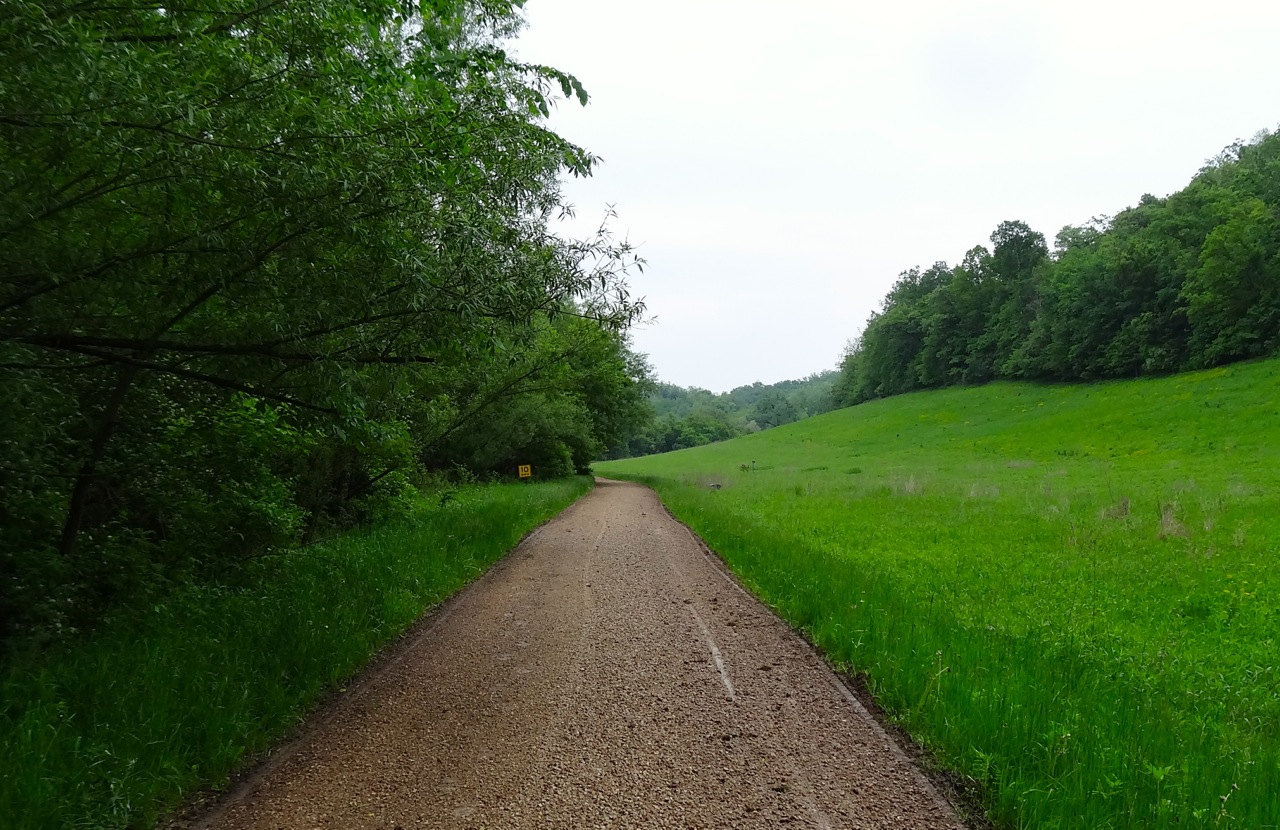
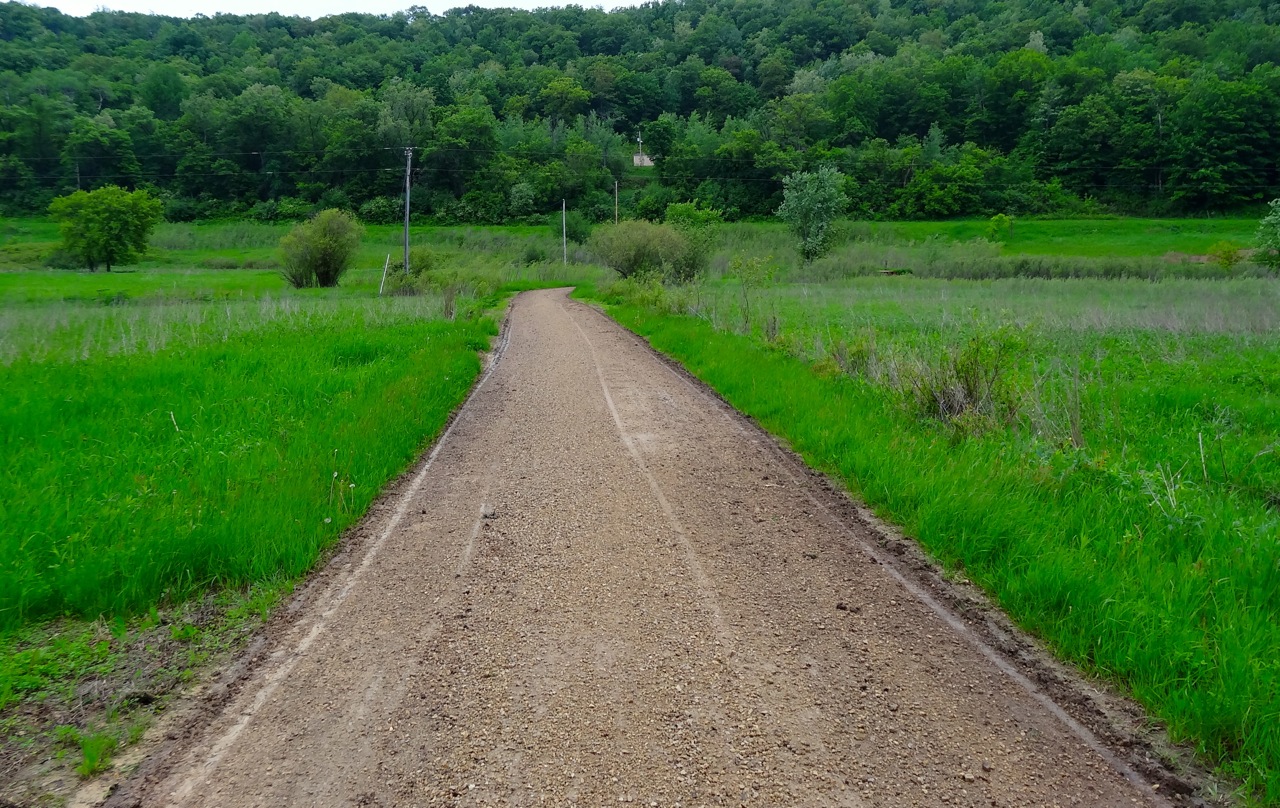
Here’s a picture from last year – note the gravel-free tracks through grass. This is not what a gravel road is supposed to look like. It’s supposed to have gravel in it, not grass.
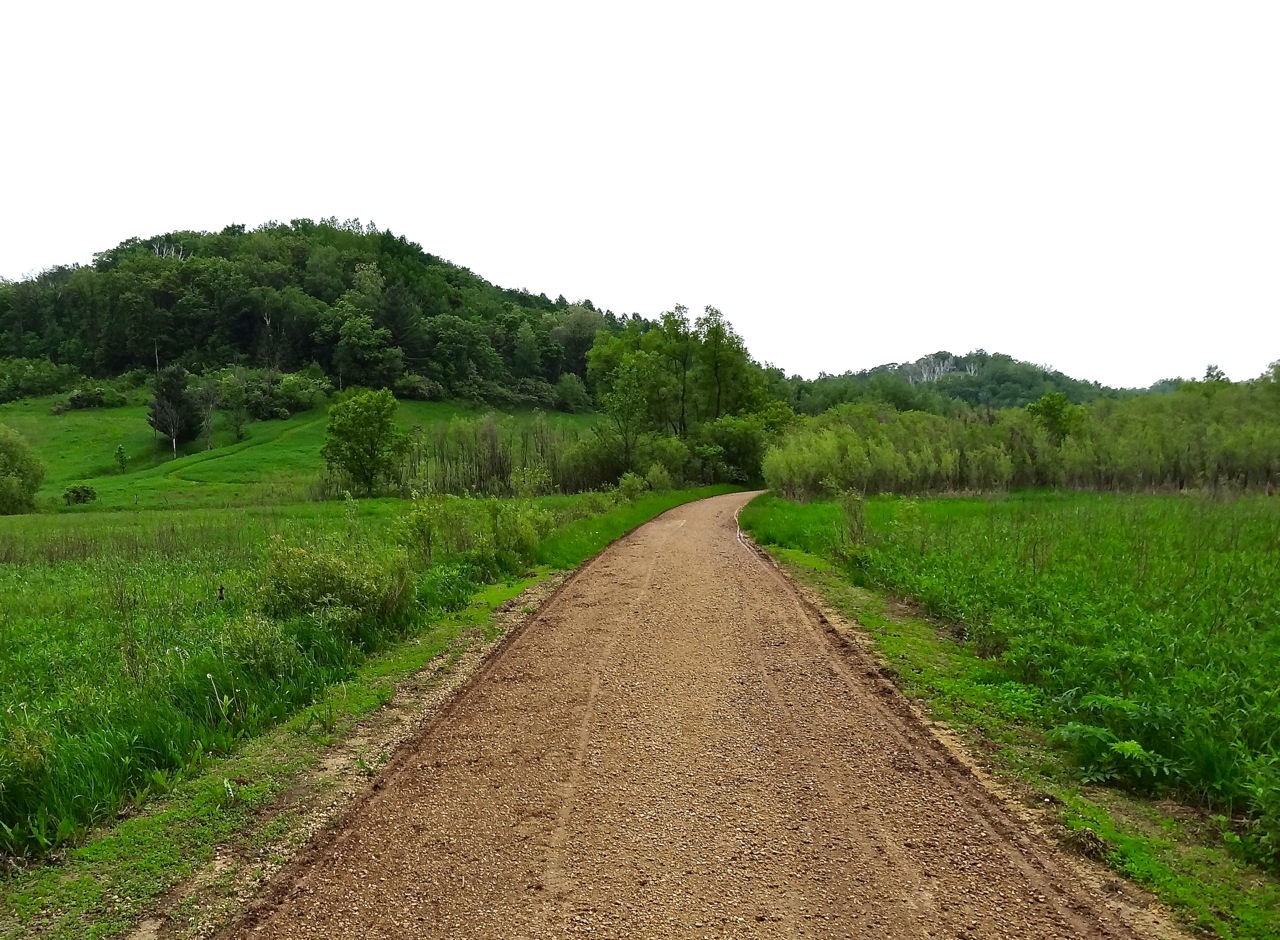
Here’s a picture of that same segment of road as of this morning. See? Gravel, not grass. Much better. In essence this is what I’ve been fiddling with every dry day for the last month. There have been precious few of those, so this project has taken a lot longer than I thought it would.
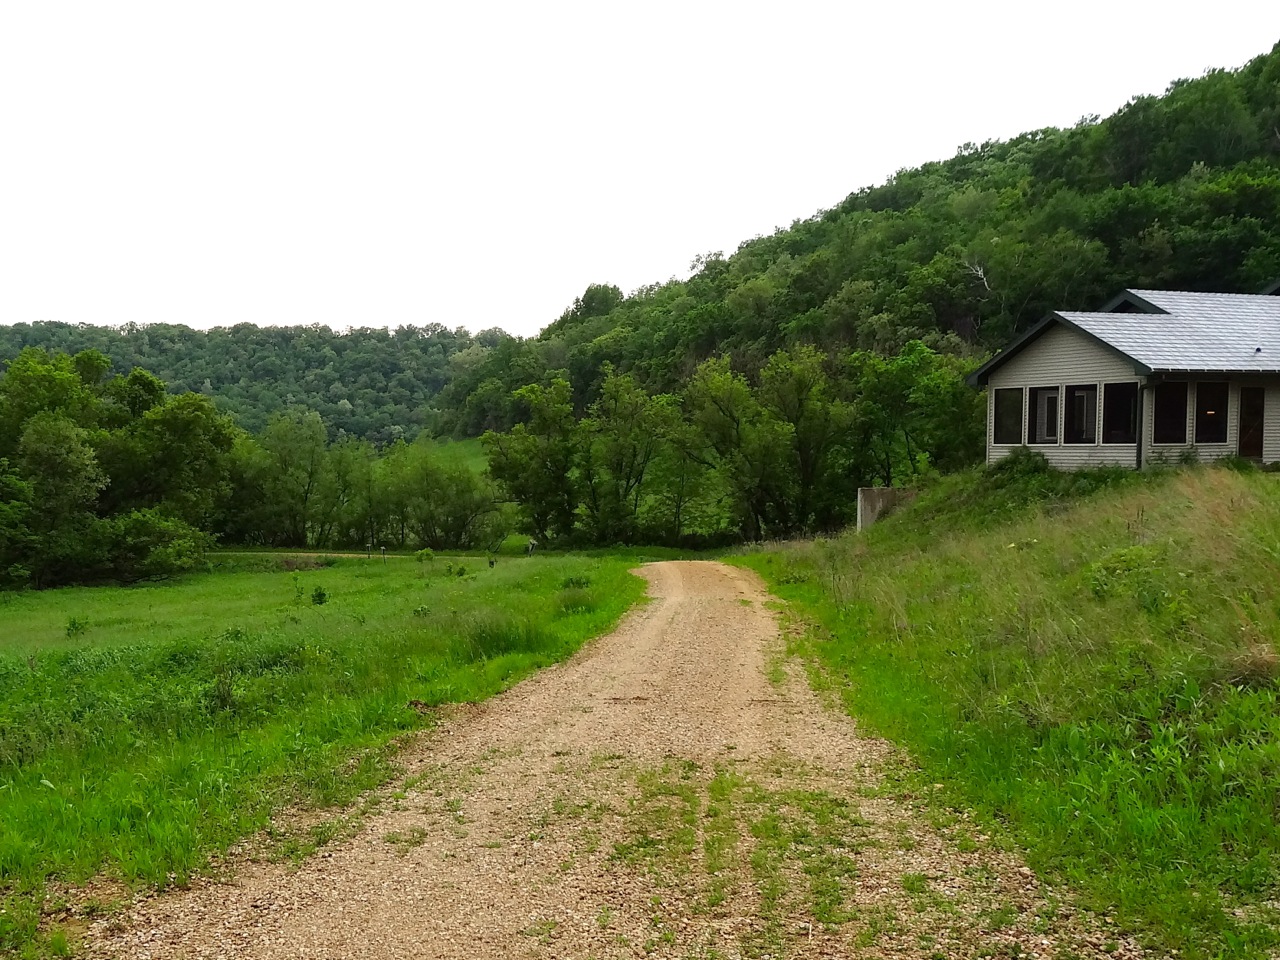
This is a piece of road we hardly ever use. It was built so that semis can turn around when they get in here (useful for when we were building the house, and for grain trucks when we were still renting the land for row crops). But most of the time it just sits there, and you can see that it likes to be covered with grass.
But here’s a picture of it this spring. One trip across it with a truck and there are giant divots in the road.
So this was my first experiment with the land plane. It’s starting to get grassy again because I fixed this chunk about a month ago and it’s been raining pretty much ever since. But you can see how the divot is gone.
Now let’s take a look at some areas that got really bad this spring. This first one never ever gets this bad. And never this long a stretch needing to be repaired.
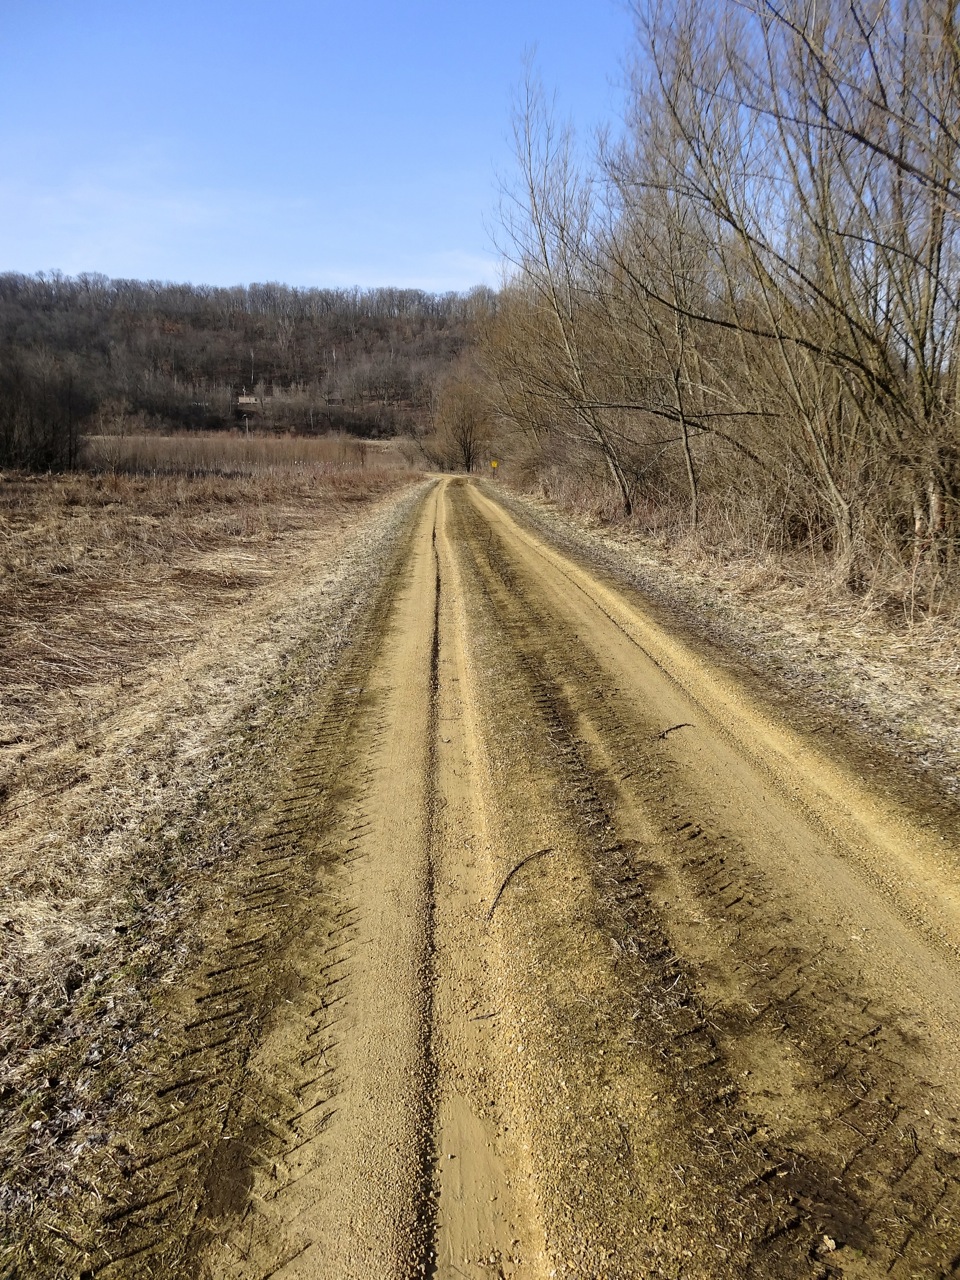
Here’s what it looked like after a few passes of the land plane. This was the “dang, I’ve really messed this up” picture. I was thinking that I might be doing more damage than good when I took this shot. But fear not! It has to get ugly before it can get pretty. Pulling all that grass out makes a mess for a while.
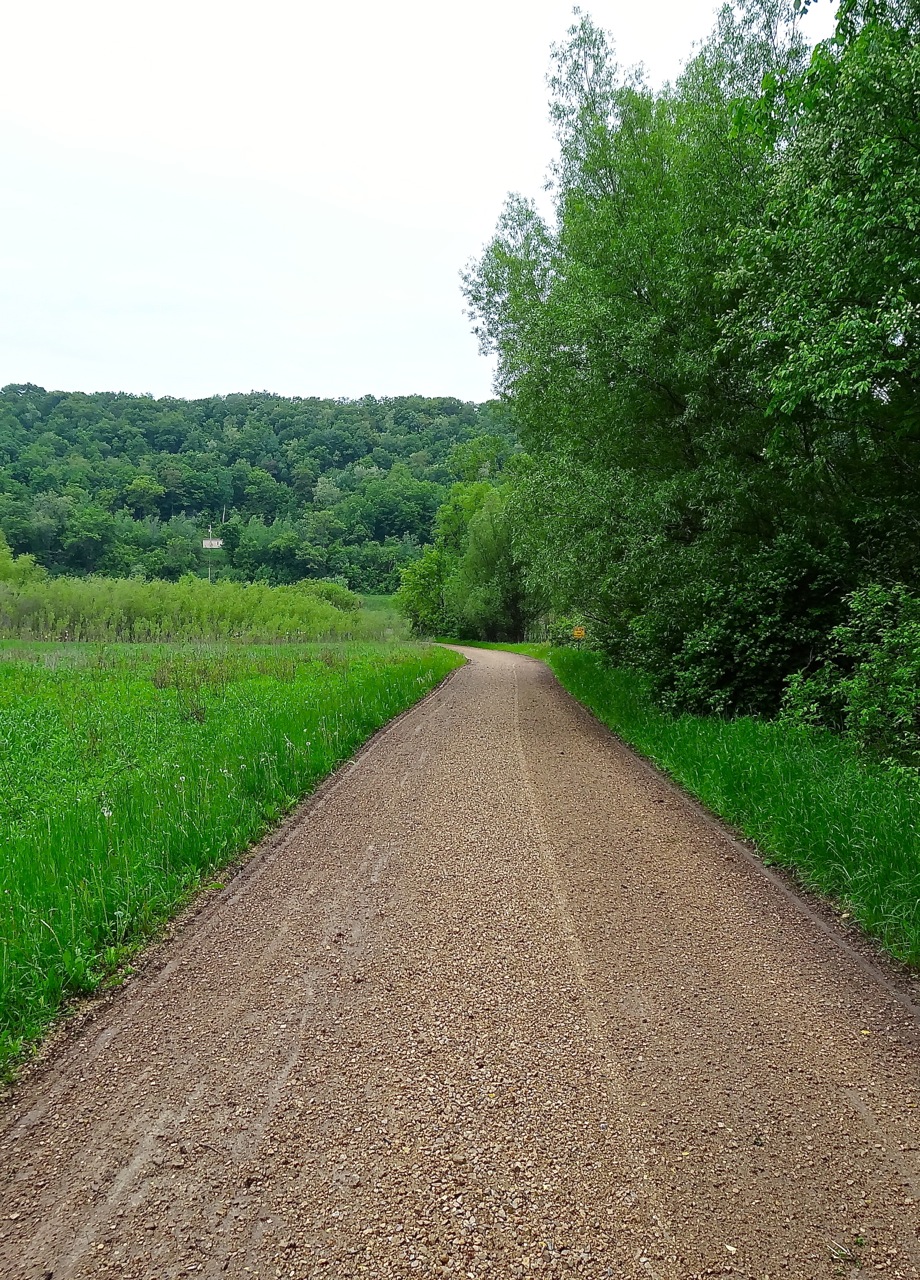
See? This is that same segment after the very last pass.
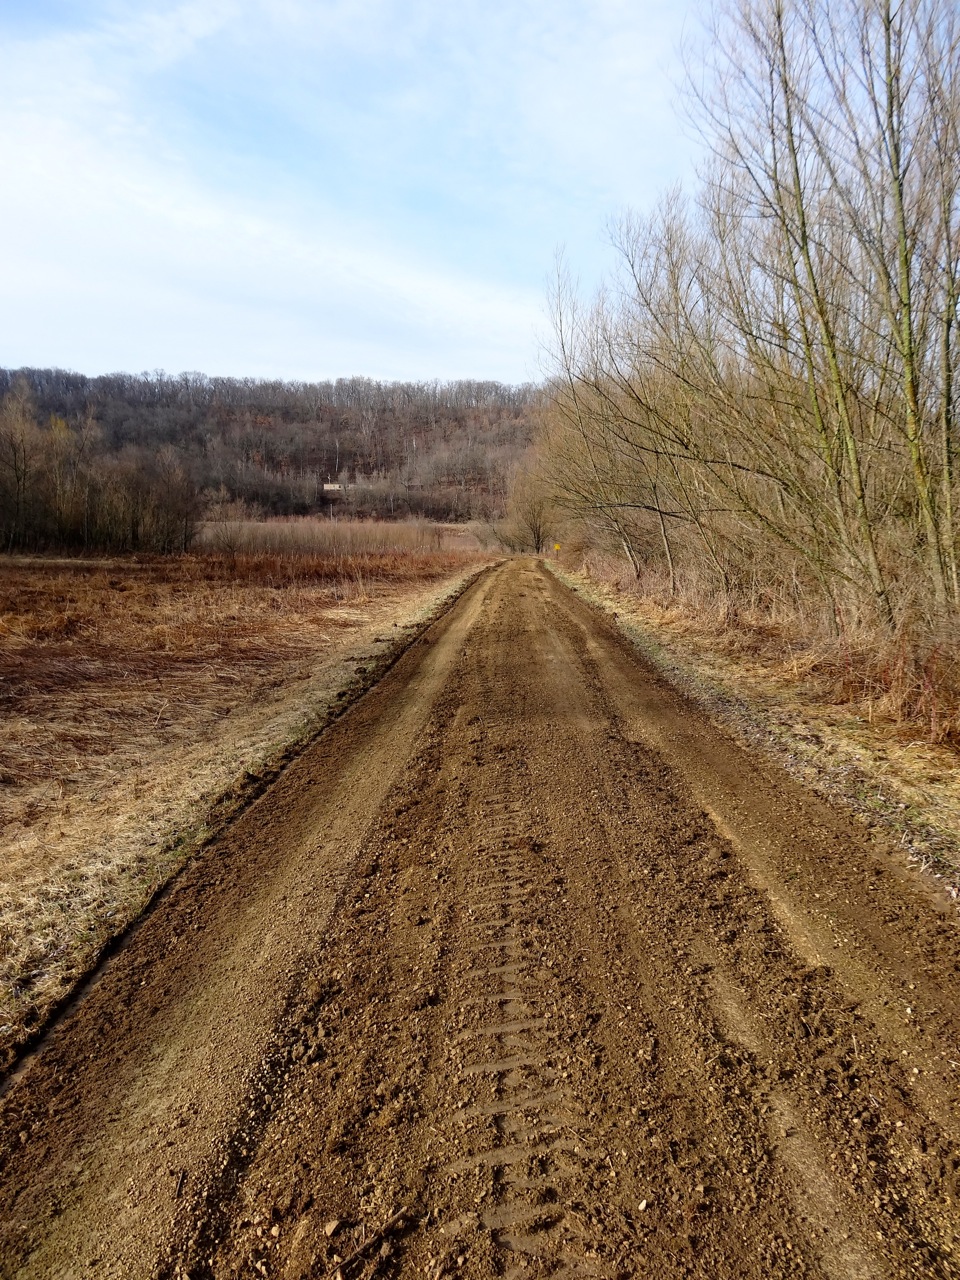
Here’s another view of that segment. My first approach, before using the land plane, was to use the bucket on my other tractor. That’s all I’ve done in prior years, but you can see that I wasn’t really making much of a dent — mostly because there was so much damage over a really long piece of the road. I was pretty unhappy with the results.

Here’s that same “first few passes with the land plane” shot.

And here’s the “after last pass” shot. It should be noted that to get through this whole project, I’ve taken something like 10-15 passes across the road. I changed the settings a few times to try things out and have some ideas that you’ll find in the “Tips” section at the end of the post.
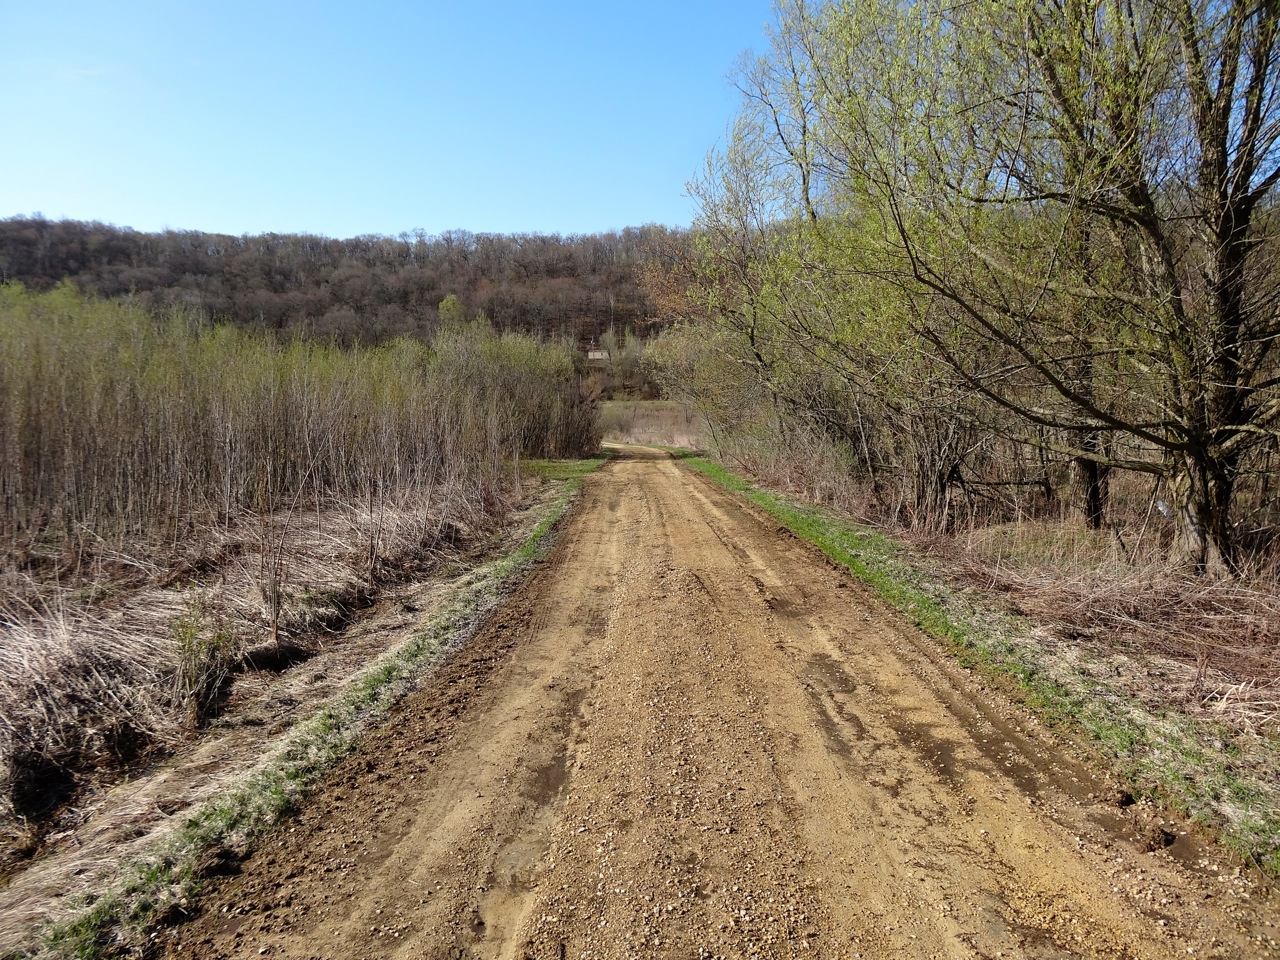
THIS part of the road is always nasty — it’s going through a really wet area and is always soft. There’s a “redo this section of the road with road fabric” project in my future here. But you can see just how bad things got this spring. This shot was taken AFTER I’d worked on this area with the bucket for a while.
And here’s that last-pass shot… It looks pretty good, but it’s still really fragile. This smoothyness won’t last long, especially if a few trucks go over it before the rain stops.
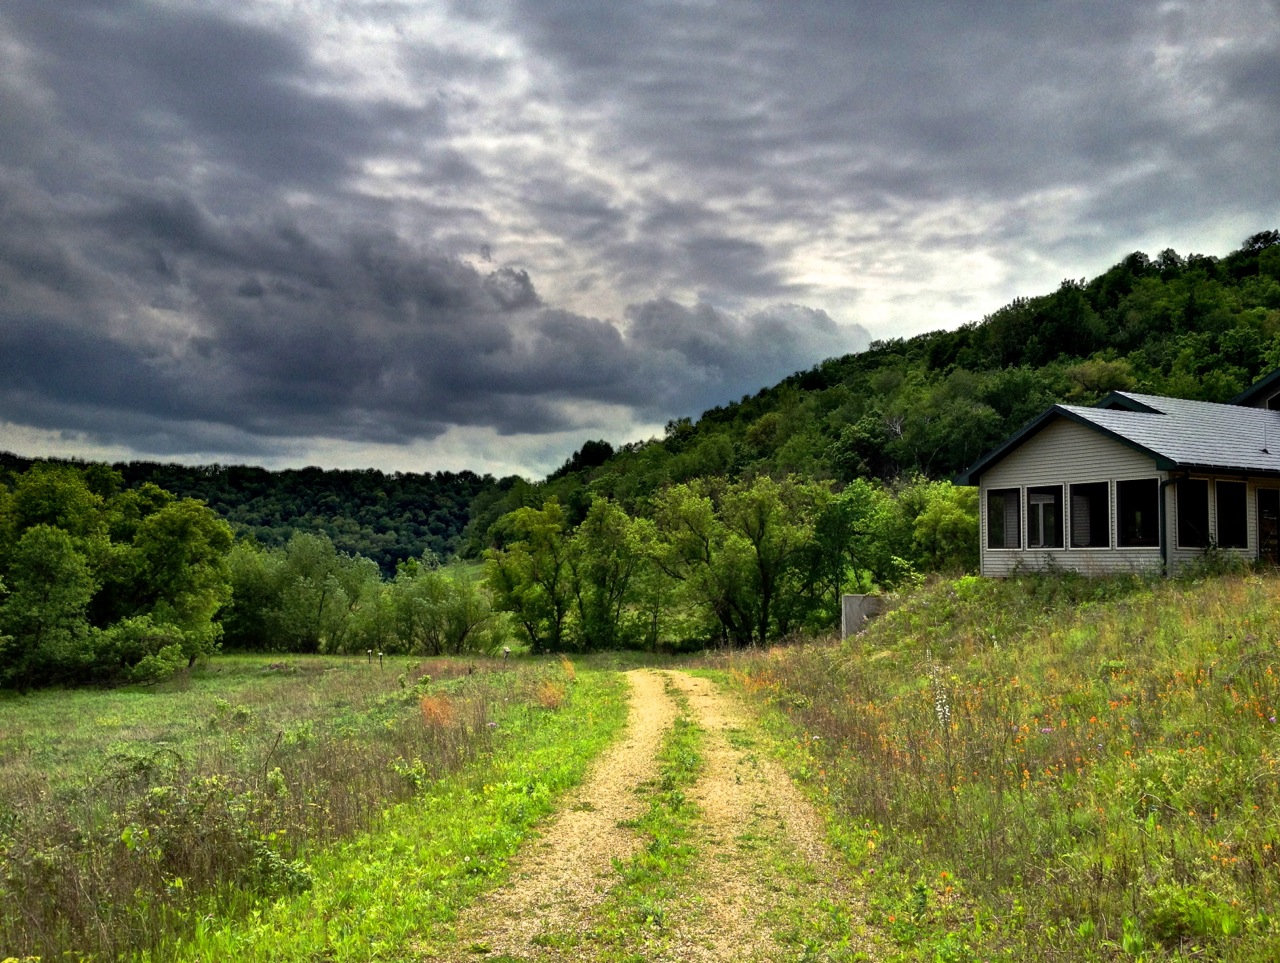
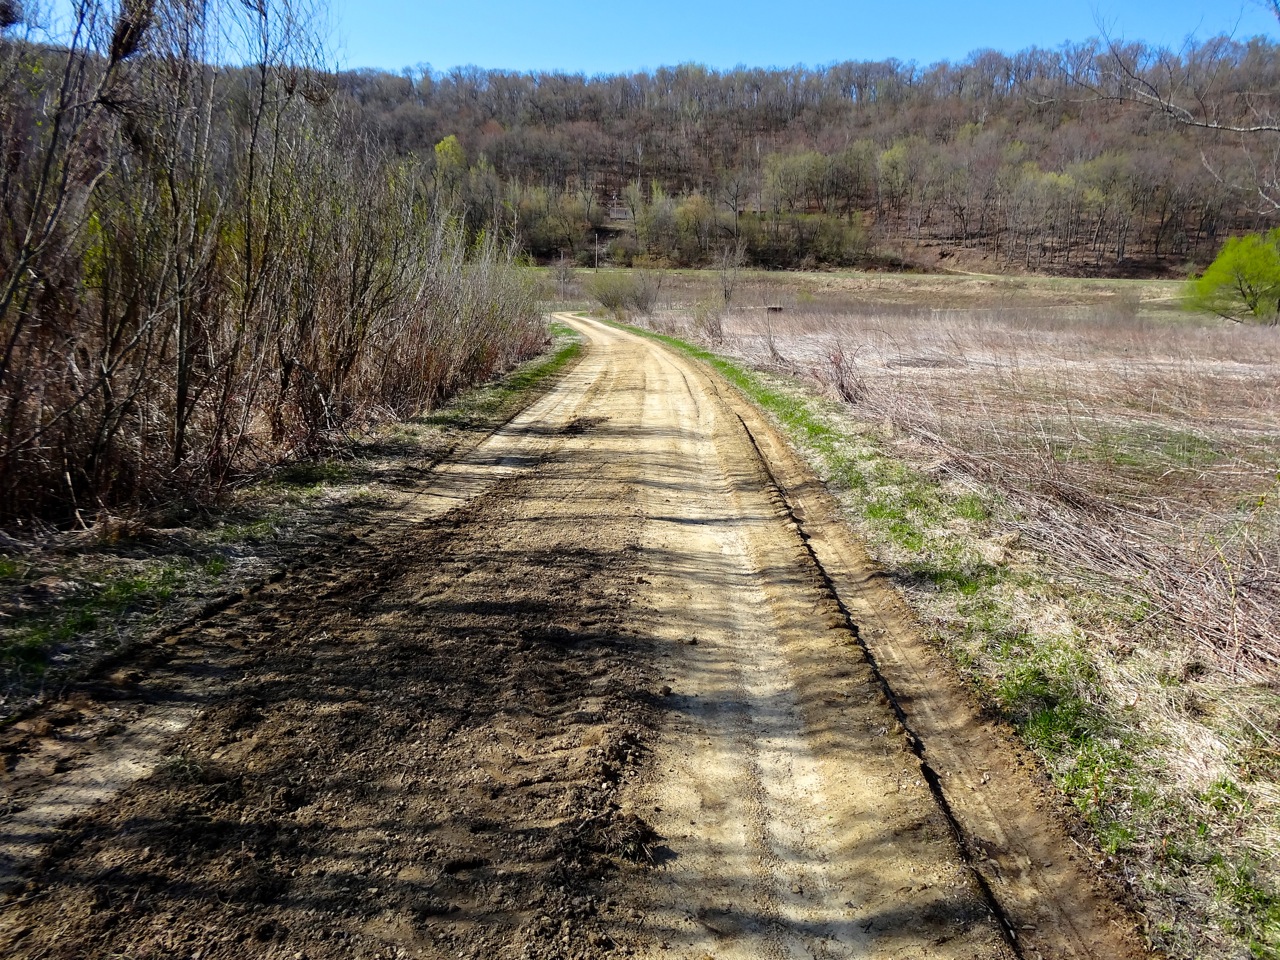
Another “before” shot. Same part of the road, just a little bit around the corner and looking out into the wetland.
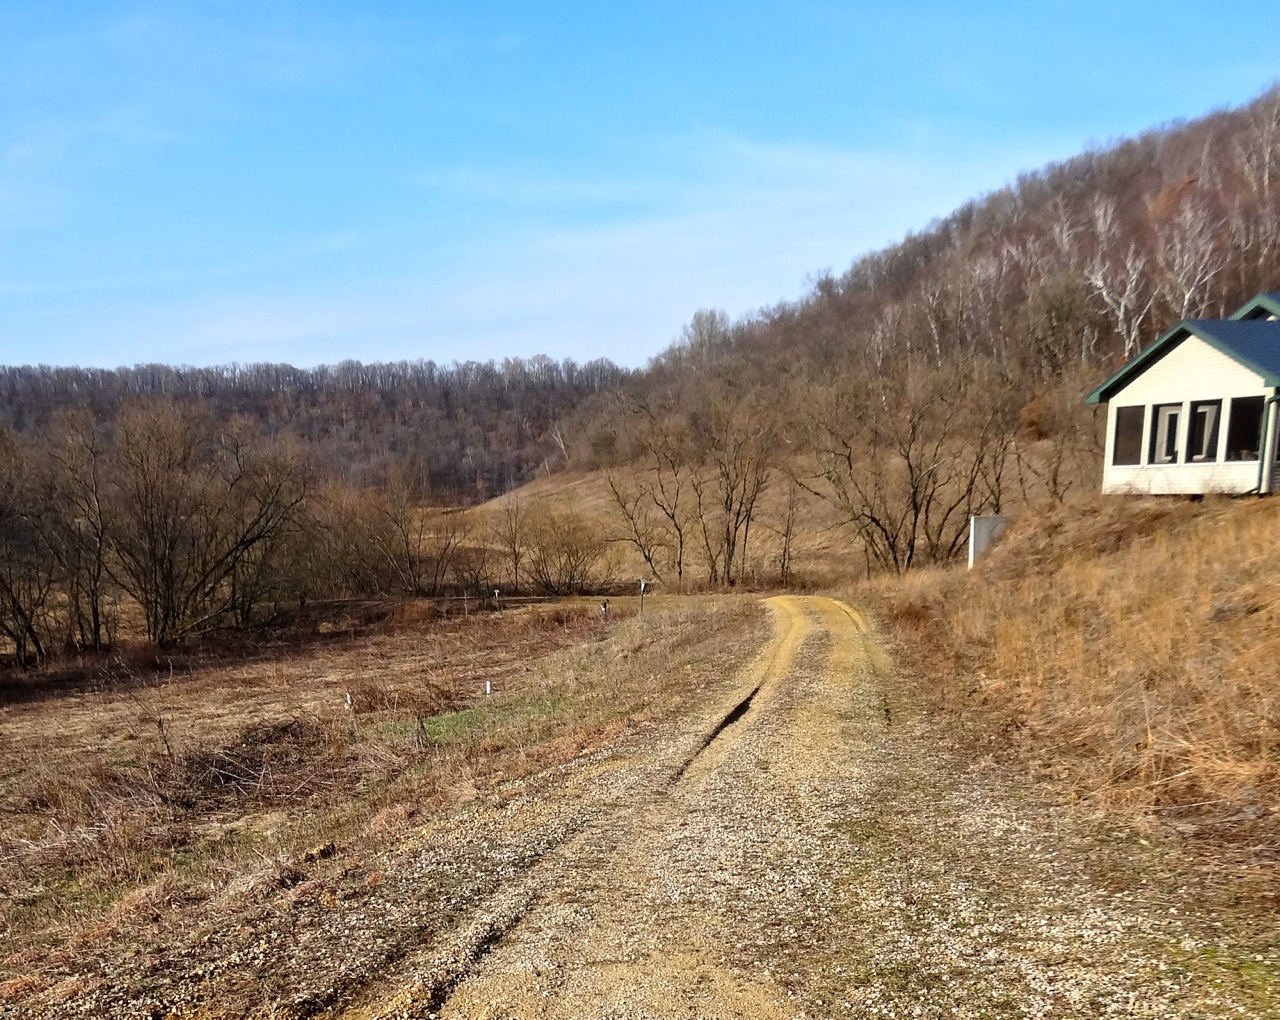
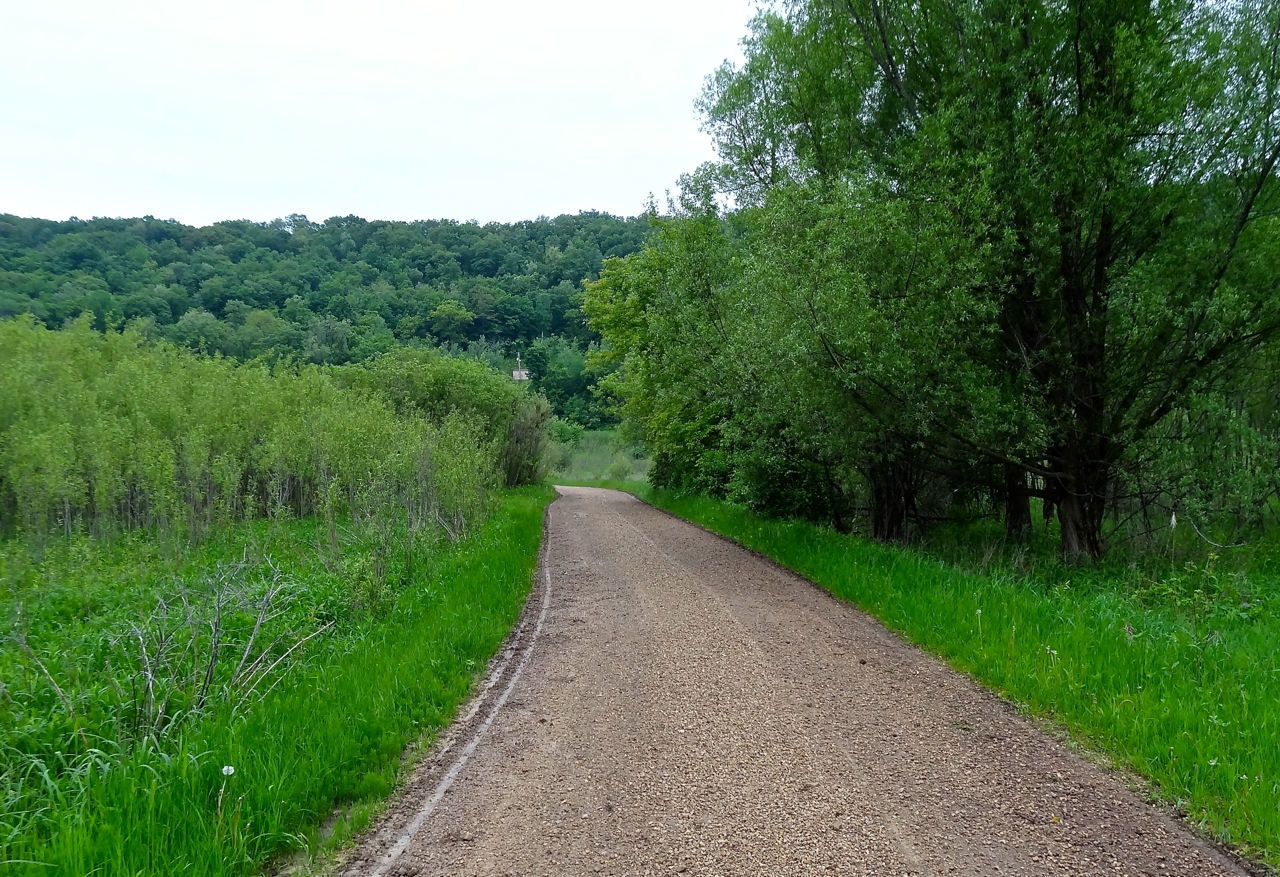
And the “after” shot. This part was really hard to do. There’s a lot of dirt and not much gravel to dig up along here. But even with all that, the gravel came back pretty well. Again, the gravel along here will be pounded back into the road as the summer progresses. The “redo with road-cloth” project is going to have to extend into this part of the road too.
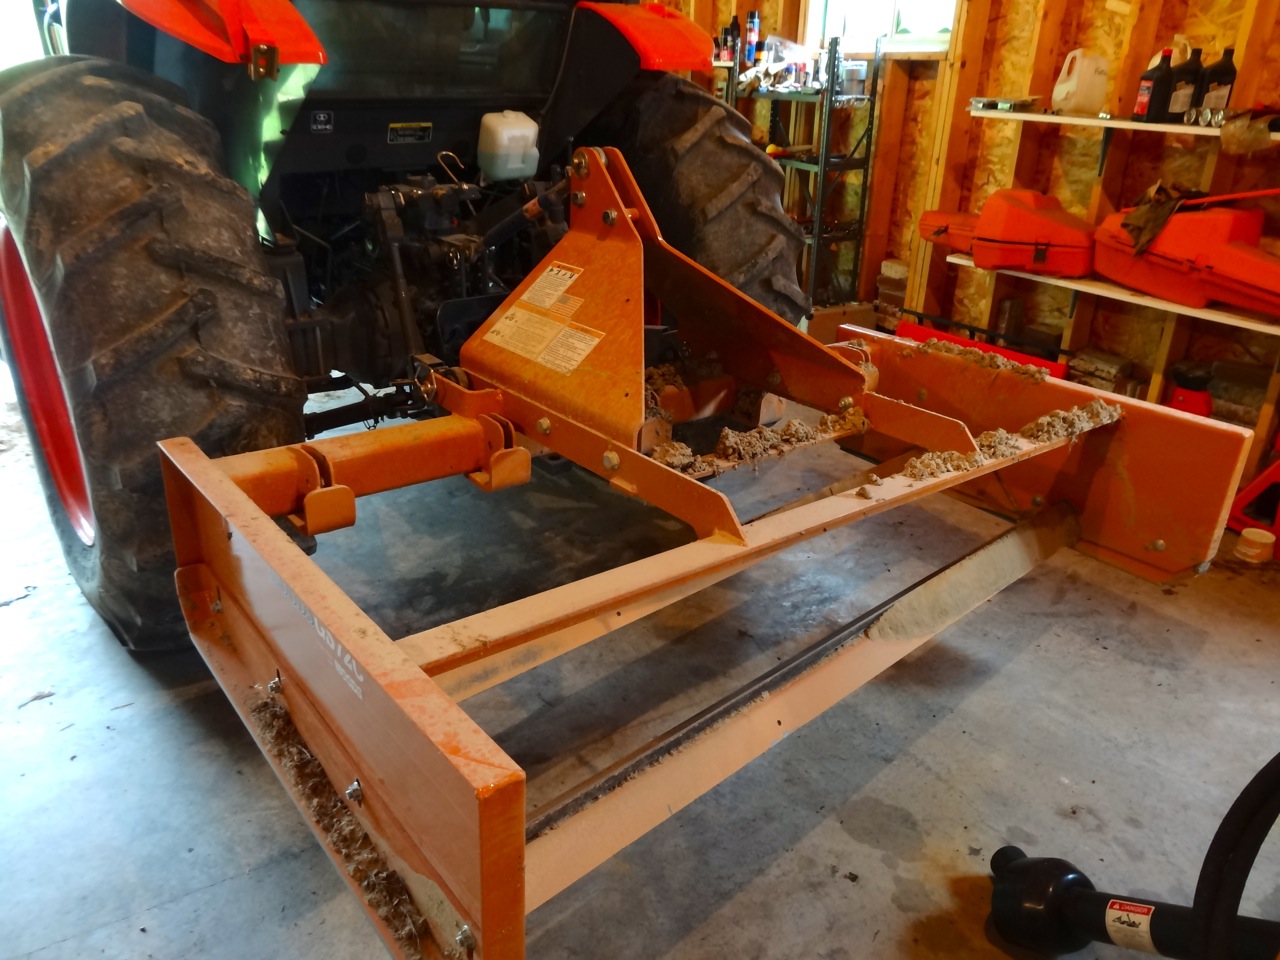
Here’s the implement — a Woods land plane, hanging on the 3-point hitch of my Kubota M-6800. This is a really slick deal. The two edges adjust up and down, and tilt, independently. See the four bolts at the bottom left? Loosening them allows that shoe at the bottom to be adjusted up and down. I fiddled with variations of “low in front, low on one side, etc.” and have a few ideas about how to do that. You’re looking at my “last pass” configuration — low in front, high in the back, symmetrical side to side. This doesn’t cut into the road at all, it just rides through the loose gravel and makes it flat. My goal when running this configuration was to have a nice amount of gravel caught by the front blade and no gravel going over the top of the back blade. That’s why the road’s so smoothy. But this configuration is no good for actually repairing the road, only for dressing up the gravel at the end.
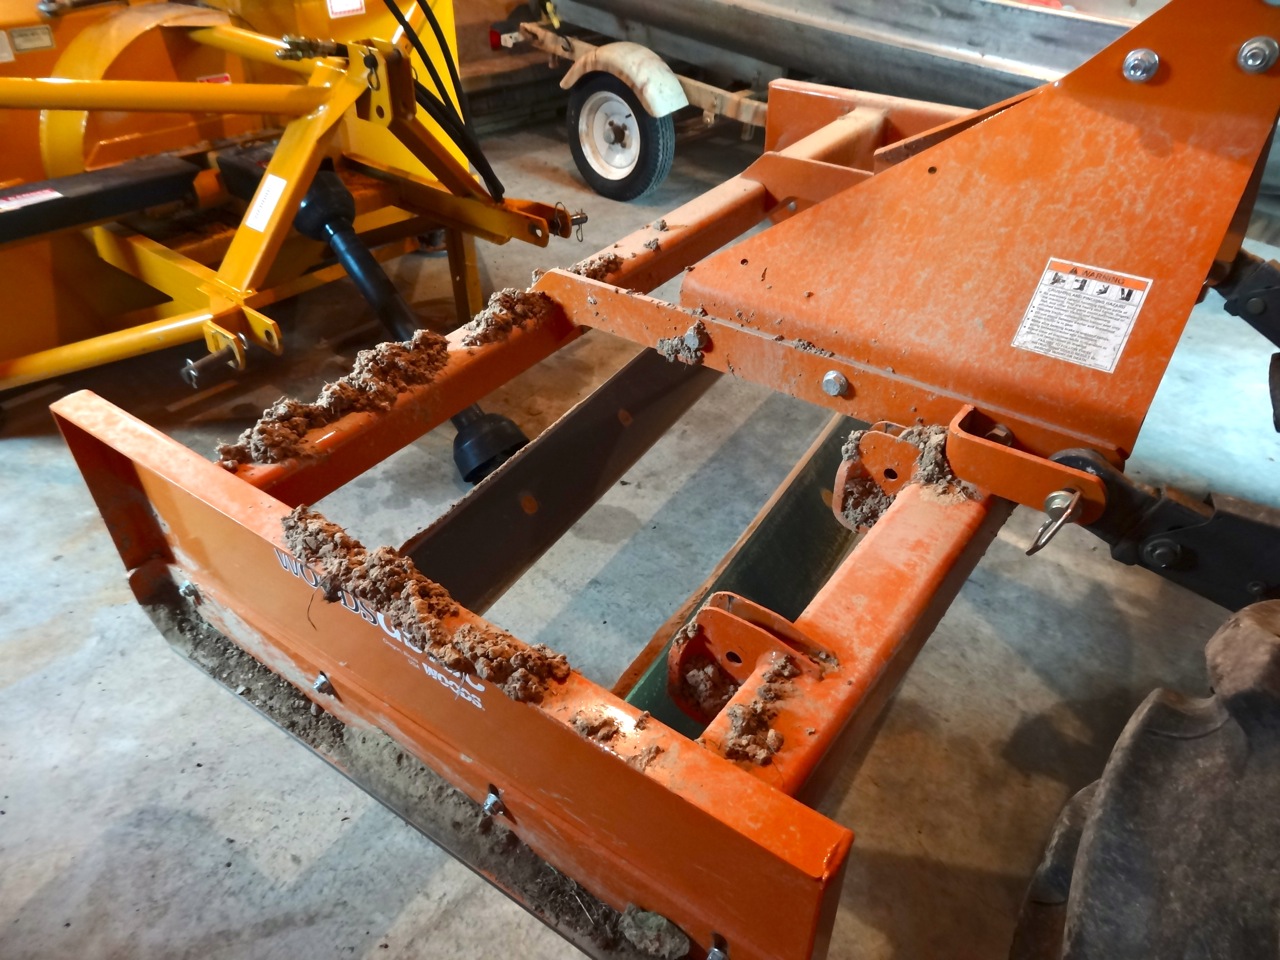
Here’s another view of the land plane, showing how the blades are on a diagonal. In theory, this means that the gravel moves from one side to the other. It probably does a little bit, but it’s certainly no replacement for a real rear blade if you need to move a lot of gravel from one part of the road to another.
TIPS:
OK, you’re probably really interested in this stuff if you made it this far through the post. Here are some lessons I learned that I’m documenting for me, since I probably won’t do this project again until next spring and will likely forget some of this stuff.
Clearing grass
The box will clog up during early grass-pulling, dirt-removing passes. Just raise it a little bit and back up. That’ll smooth the dirt and grass out and after a few days it’ll have dried enough that it’ll break up rather than clogging the works in a subsequent pass (have I mentioned lots of passes??). At first I was pushing that stuff off to the side, or pulling it out by hand. Way too hard.
Scarifiers
I ran the scarifiers right at the same level as the front blade for a while, but eventually pulled them off (they aren’t on the land plane in the pictures). I think they would probably be really important if you were using this to stir up gravel when the road is really dry, but it’s wet here right now and the land plane did a better job of smoothing the ruts without them.
Removing ruts
I set the whole thing up at it’s mid-points all around and level (front and back, side to side, 3-point hitch level) while I was taking the ruts and grass out. That worked OK, but I think next time I’ll try a slightly less aggressive version of this next setting.
Crowning and removing ruts
Towards the end of the project I wanted to put a little more crown in the road while removing some ruts that came in after a rain. I set the “leading side” side of the land plane as low as it would go, front and back. The “trailing side” got set as high as it would go. I made the leading side bite even more by lowering that side of the box on the 3-point hitch. So my goal was to bevel the road, with the leading side doing the cutting and then allowing the material to move over and escape out the trailing side.
Finishing and dressing the gravel
Those first two settings are fine for working divots out of the road, but they leave a lumpy surface, because a lot of material goes over the second blade. I would try to keep that at a minimum by raising and lowering the 3-point but there’s almost no way to avoid it, because my goal was to remove ruts not leave a perfect surface. But the last couple passes I just wanted to smooth out the gravel, not change the contour of the road. For this setting, my goal is NO gravel going over the rear blade — that’s how I got that really smoothy surface. So this setting was level side to side (both on the land plane and the 3-point), low in front and high in the back (to grab gravel easily with the front blade but not let much escape over the back blade).
Summary
A great project. I borrowed the land plane from my friend Danny, but I think I’ll have to buy it from him. He’s gonna have to pry this thing out of my cold dead hands. I can imagine taking another pass or two several more times this summer, just to pull the grass. Darn nifty.
2025 Update/Tips:
Hydraulic top-link. Allows nicely controlled adjustments on the fly. Now I never lift the 3-point, the box floats on it’s rails and the bite is adjusted with very small changes to the top-link.
Hydraulic transmission. Continuous gearing is also really helpful for on-the-fly changes. Being able to slow down going up hills reduces the need to use 4-wheel drive.
Reverse-mounted rippers. This way they still break up the ruts, but they lift the box up when they hit a really-hard spot or a rock. I set them just barely below the blade height and run them all the time. Only three will clear the blade when reversed. That’s the side I put on the outside edge of the road.
One setting for rails. Rails are set at their lowest (blade and rippers closest to the ground) in front and highest (blade furthest from the ground) in back
Run during really-dry weather. The first big source of clogs is muddy clay. The easy solution is to wait until the road is really dry. Now the clay breaks up rather than clogging.
Clear organic matter before doing any passes with the box. A round of raking the driveway goes a really long way toward eliminating clogs.

Rails and Rippers

Detail – Rippers

A “before” shot — showing how much clog-causing crud gets removed by raking

Another “before” shot

An “after” shot. This is after two passes, which is all that’s needed these days.